Using the Report Builder and Where to Find Your Created Reports
Last updated: July 28, 2026
When you run a report using the Report Builder feature, your admin team will get an email that a new report has been generated. The email will include a link that will take you to the main Report Builder dashboard, and you can then select the report and download it as a PDF or CSV.
Using the Report Builder Feature
Hover over the left navigation pane.
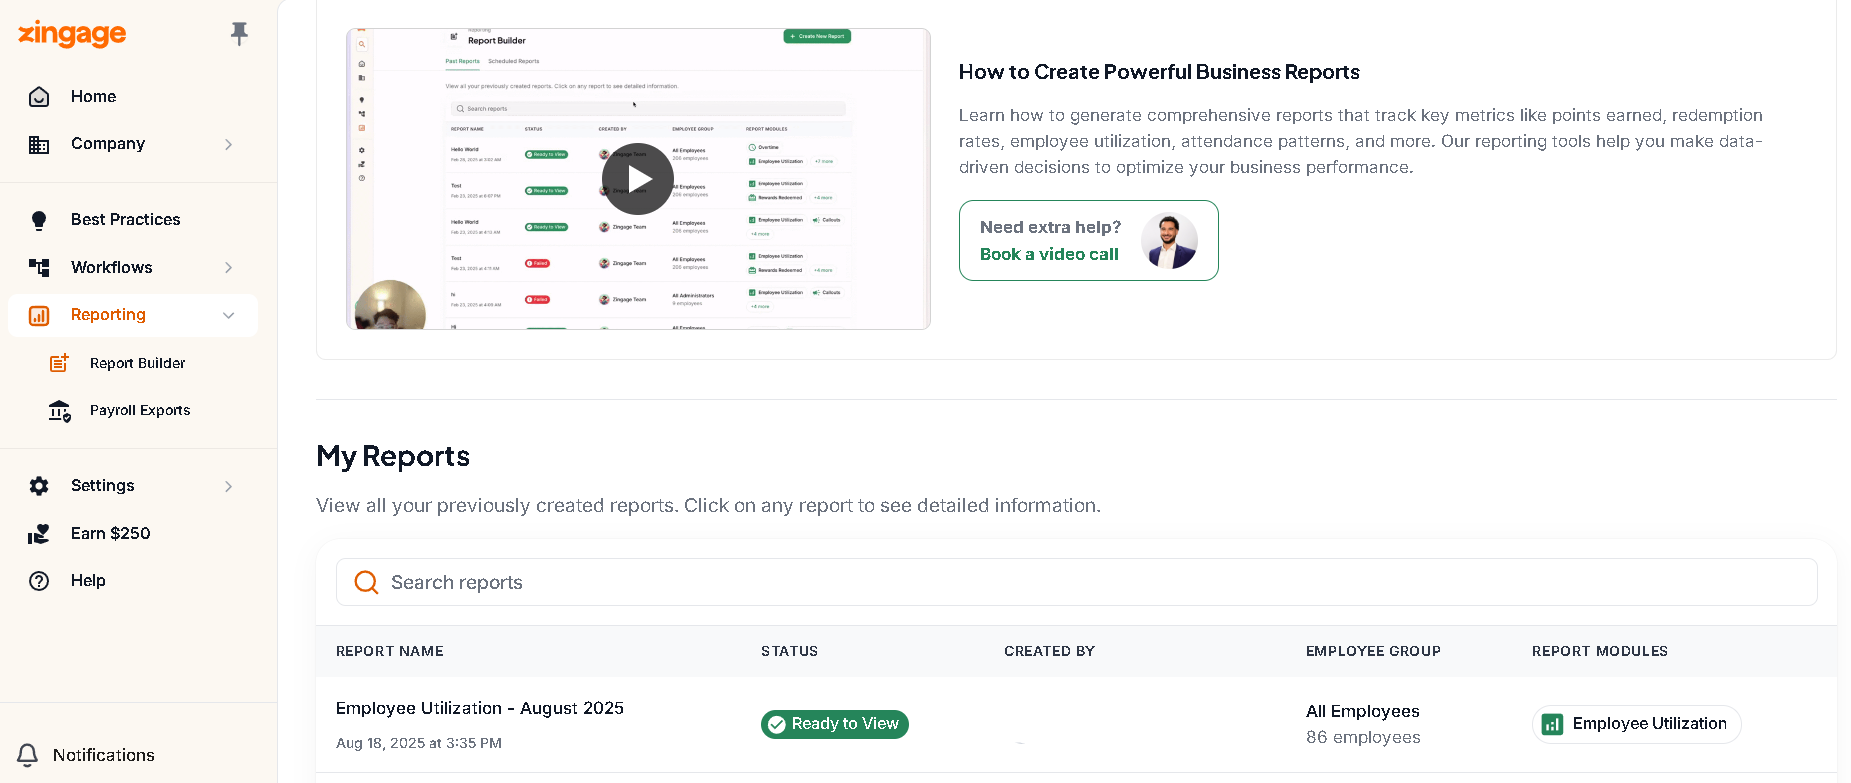
Click Reporting; this will take you directly to the Report Builder.
Click the Create New Report button in the top right corner of the screen.
Choose the employee group you want the report to cover (e.g., All Employees). Click Next.
Enter a name for your report; no name - no report
Select the report type; for a full list, see this article.
Review the preview (not the actual result of the report) of the report on the right side of the screen.
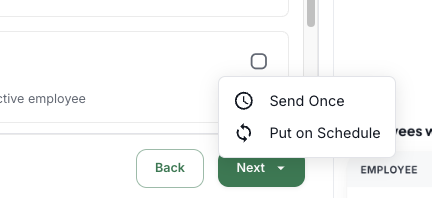
Click Next and then select Send Once to generate the report this one time
Where to find your completed reports
View Generated Reports
Go to Reports > Report Builder > Past Reports. Scroll down on the Past Reports section to see generated reports and their statuses. Once the status shows Ready to View, click it to open the report.
2. Export the Report
You can export the report to CSV or potentially PDF by clicking the report and then hitting the Export CSV or the Export PDF option in the top right.
The PDF option may not always be available for larger reports containing mass amounts of data; for those, CSV will be the only option for exporting
The downloaded spreadsheet will carry the report name (e.g., Points Balance)
Making Scheduled Reports:
Follow Steps 1-8 outlined above under Using the Report Builder Feature, but this time, select Put on Schedule after clicking Next to generate this report on a cadence
1. Set the Interval
Choose how often the report should generate
2. Set the Start Date and Time
Choose when the first report should run — today or a future date — and set a time (e.g., 2:00 PM).
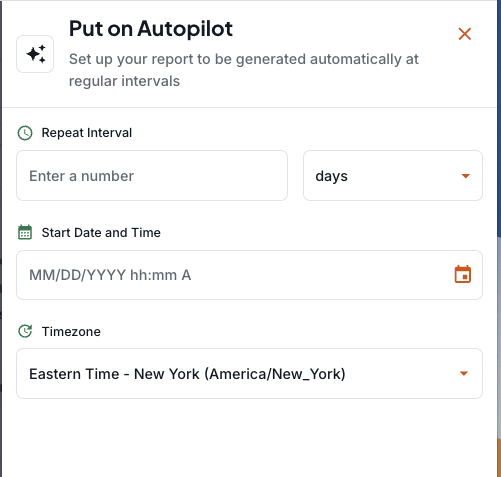
3. Activate the Schedule
Click Put on Autopilot to launch the schedule. The report will generate automatically going forward.
👀 Managing Scheduled Reports
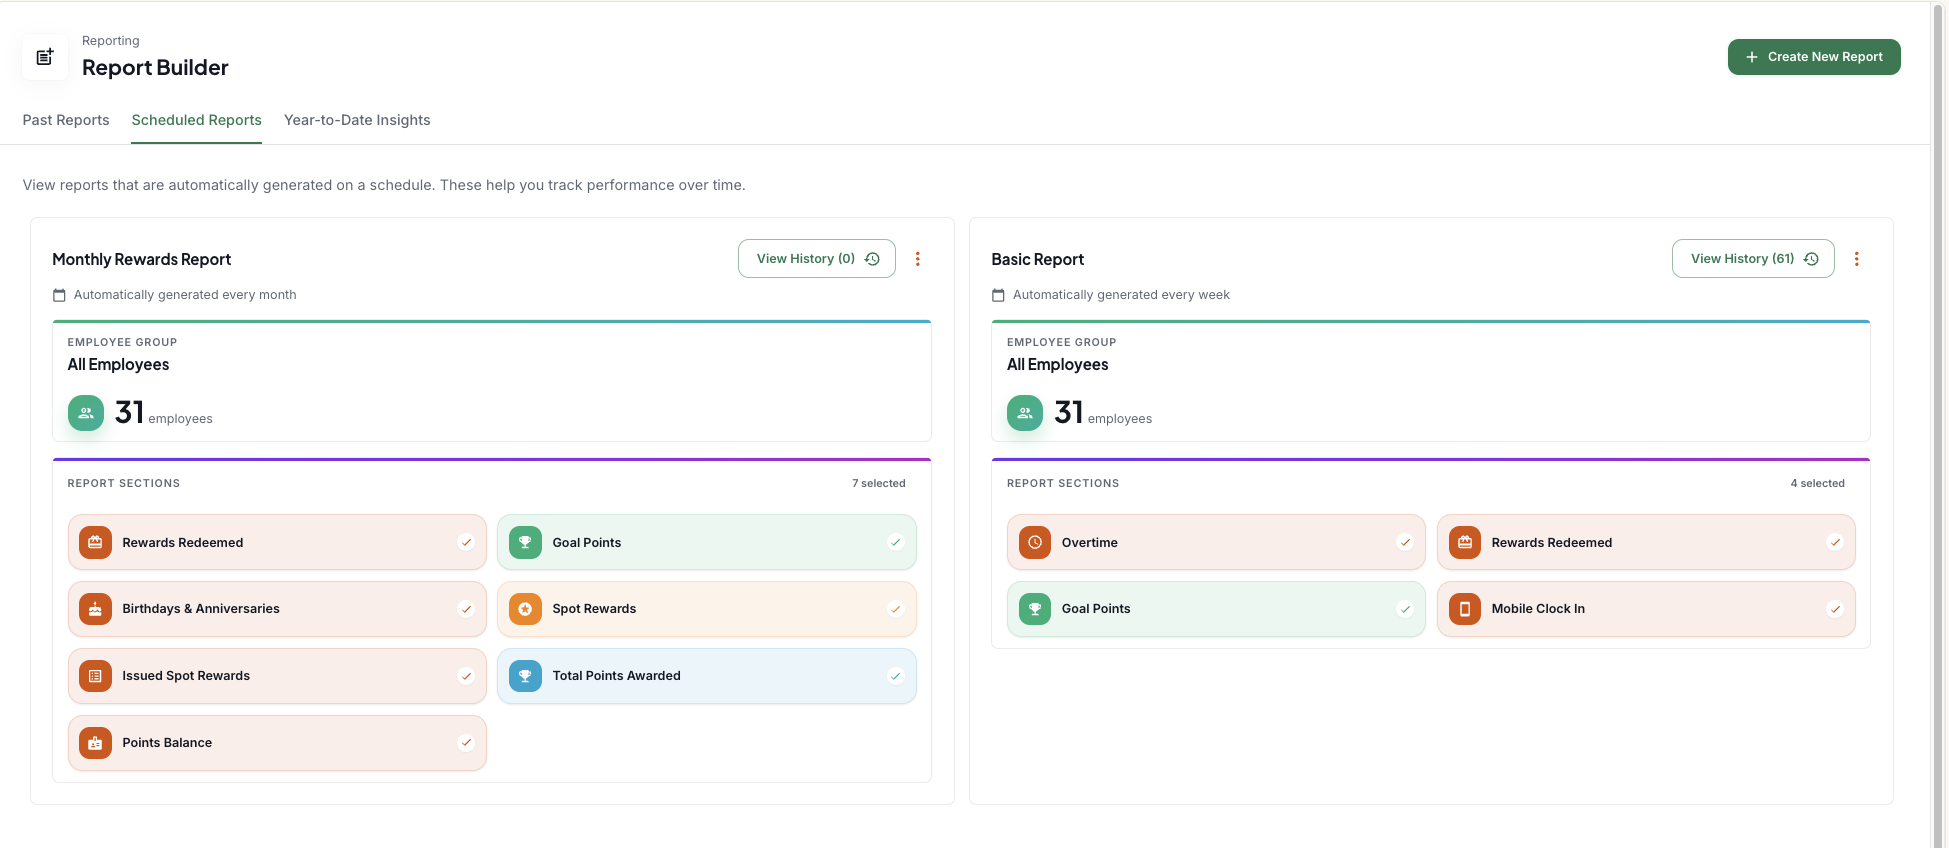
Once created, you'll be brought back to the home page of Report Builder. From there, Go to the Scheduled Reports tab at the top to view all scheduled reports you've set up. From here you can:
View history – Click into a report to see past versions by date. Newly created reports may take 10–15 minutes to generate their first run.
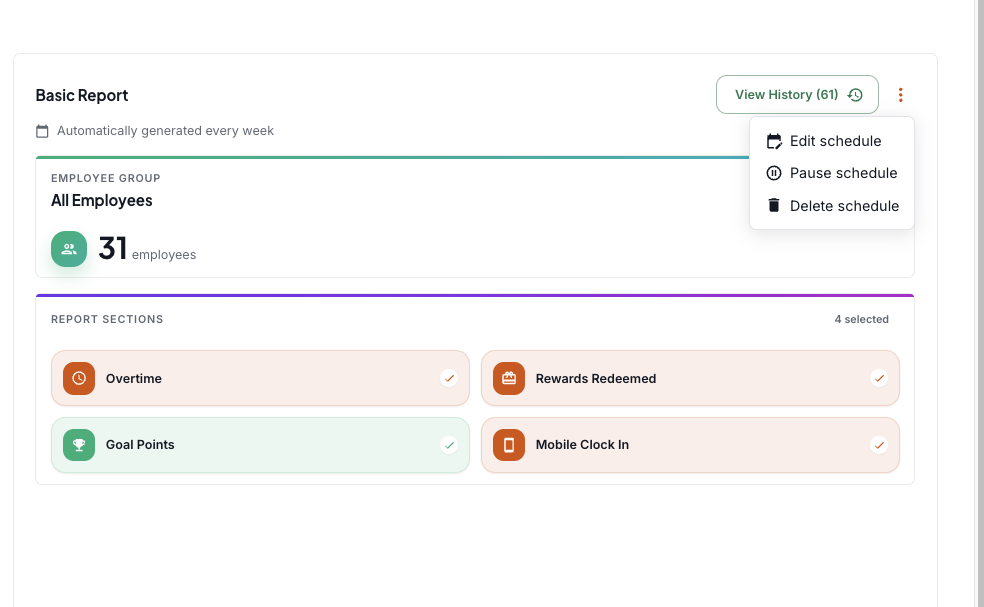
Edit the schedule – Click the three dots next to a report to change the interval or timing.
Pause / Resume – Pause a report to temporarily stop generation; the option will switch to Resume when paused.
Delete – Removes the schedule and all historical reports tied to it permanently.