EMR Integration Setup (Non-WellSky)
Last updated: August 20, 2026
Introduction
Note: This setup process is only relevant for non-TeamEngage customers. If you're using TeamEngage, your data syncs automatically - you can skip this entirely.
Welcome to the first step of setting up Zingage, integrating your employee data from your EMR system. This process will automatically sync all your caregiver information, so you won't need to manually enter employee data. Completing this integration is crucial as the rest of the platform stays locked until your employee data is connected!
Before You Start
You'll need admin-level access to your EMR. If someone else on your team manages logins, loop them in before you begin. You'll be creating a new user as part of this process. We recommend having two tabs open, one with your EMR, and one with Zingage as you will be toggling back and at some points.
Step 1: Start the Integration in Zingage
Login to Zingage via the automated invite link you received via email
Once on the home page, under 'Basic Setup' click Integrate Employee Data
Then click Connect EMR System
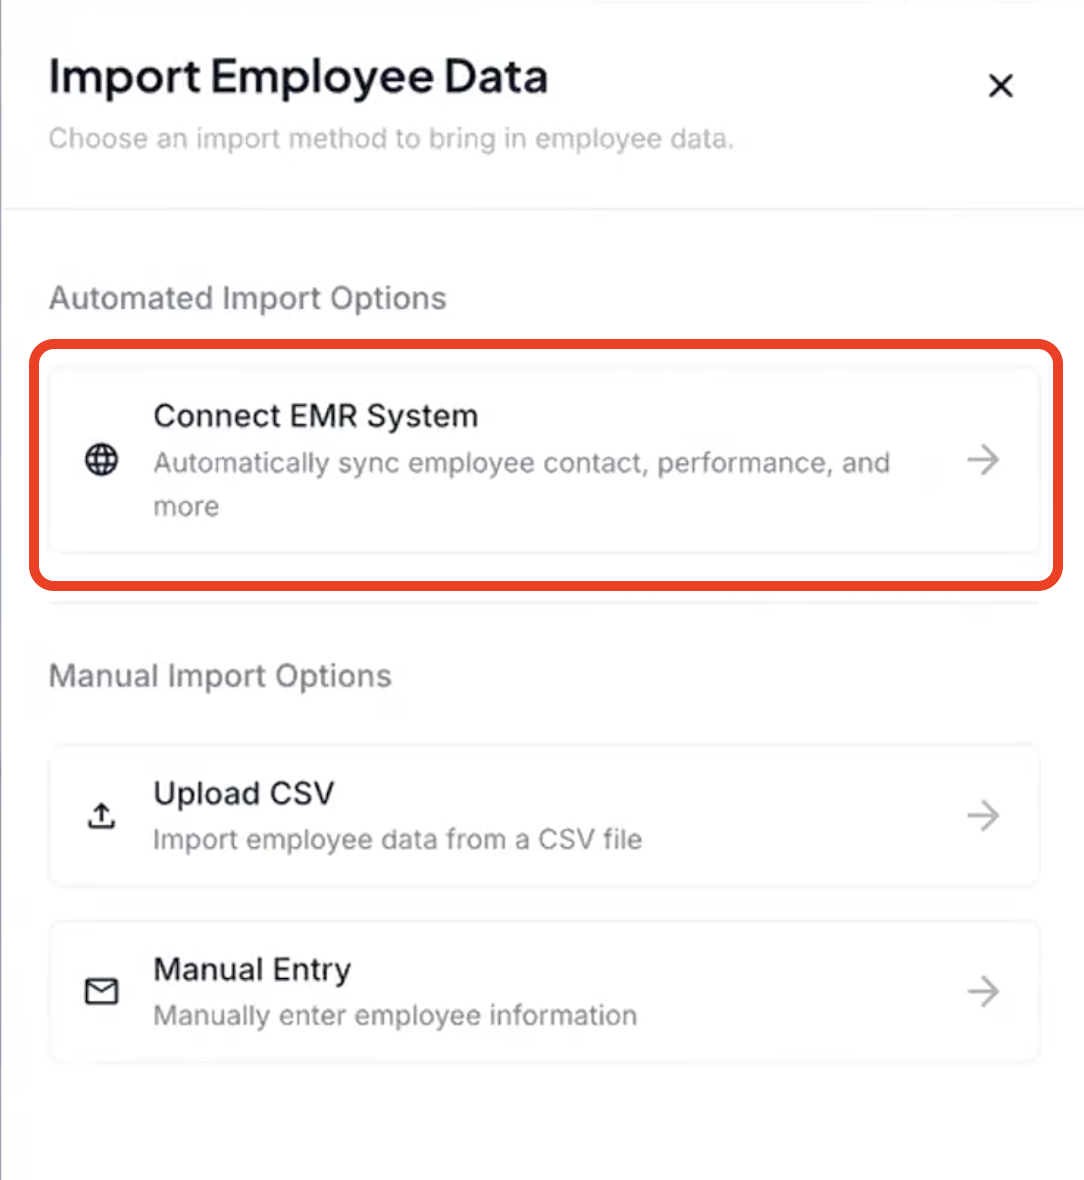
Select your EMR from the list (e.g., AxisCare, AlayaCare, etc)
Note: This integration process is generally the same for all Non-Wellsky EMRs. Some of the wording may differ (ie. create admin vs. add new user) but the same overall steps should apply. For the rest this article we'll be using AxisCare as the example.
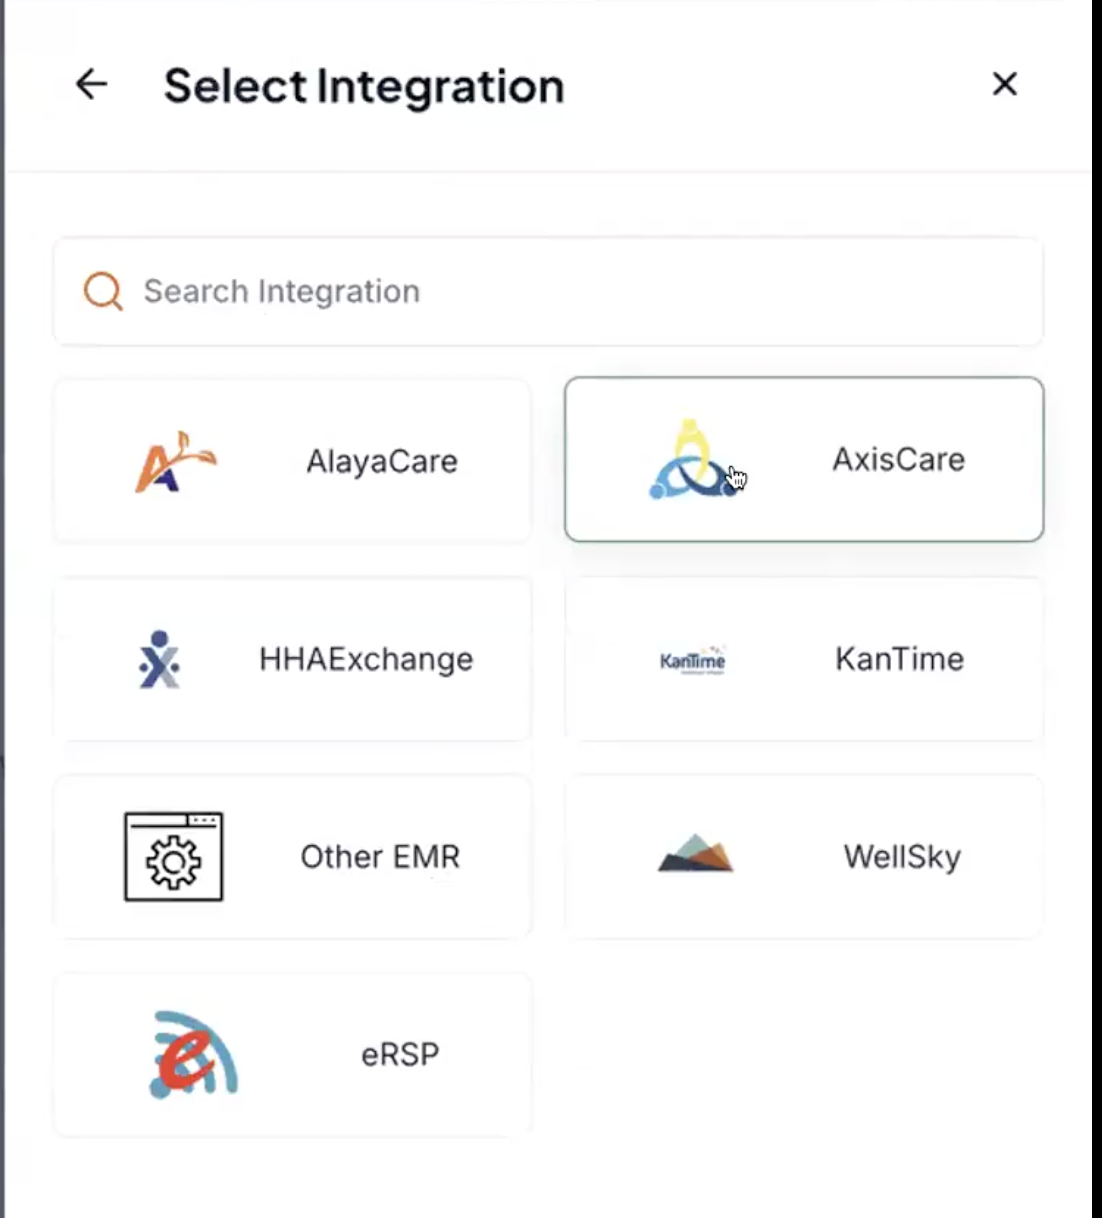
Step 2: Choose Your Connection Method
You have two options for connecting your EMR
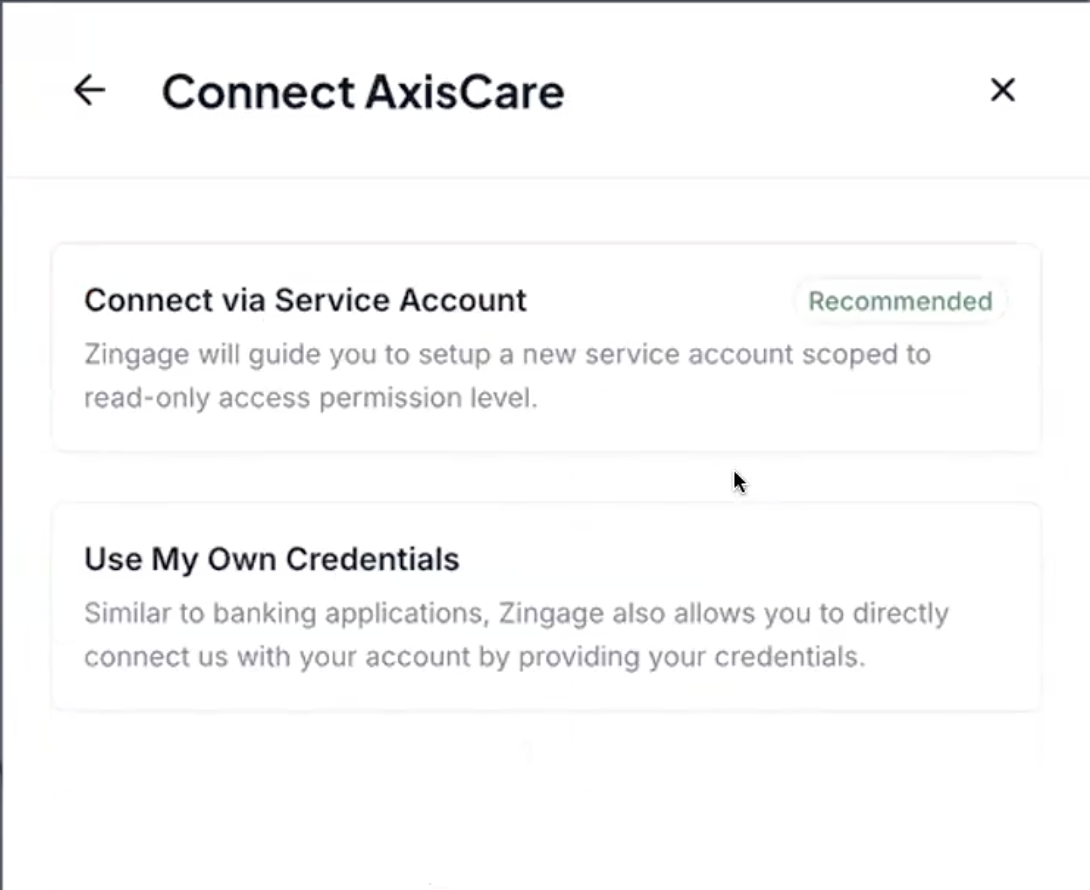
Option A - Service Account (Recommended): give Zingage a dedicated login in your EMR to read employee data (visits, scheduling, shift status, etc.). This is the option most agencies use, and the one this article covers moving forward.
Option B - Use My Own Credentials: connects using your personal AxisCare login.
If you choose Option A, please follow the steps below:
Before Zingage can connect via service account, you'll need to add Zingage as a user inside your EMR.
In AxisCare for example, this would require the below. Go to Admin > Users
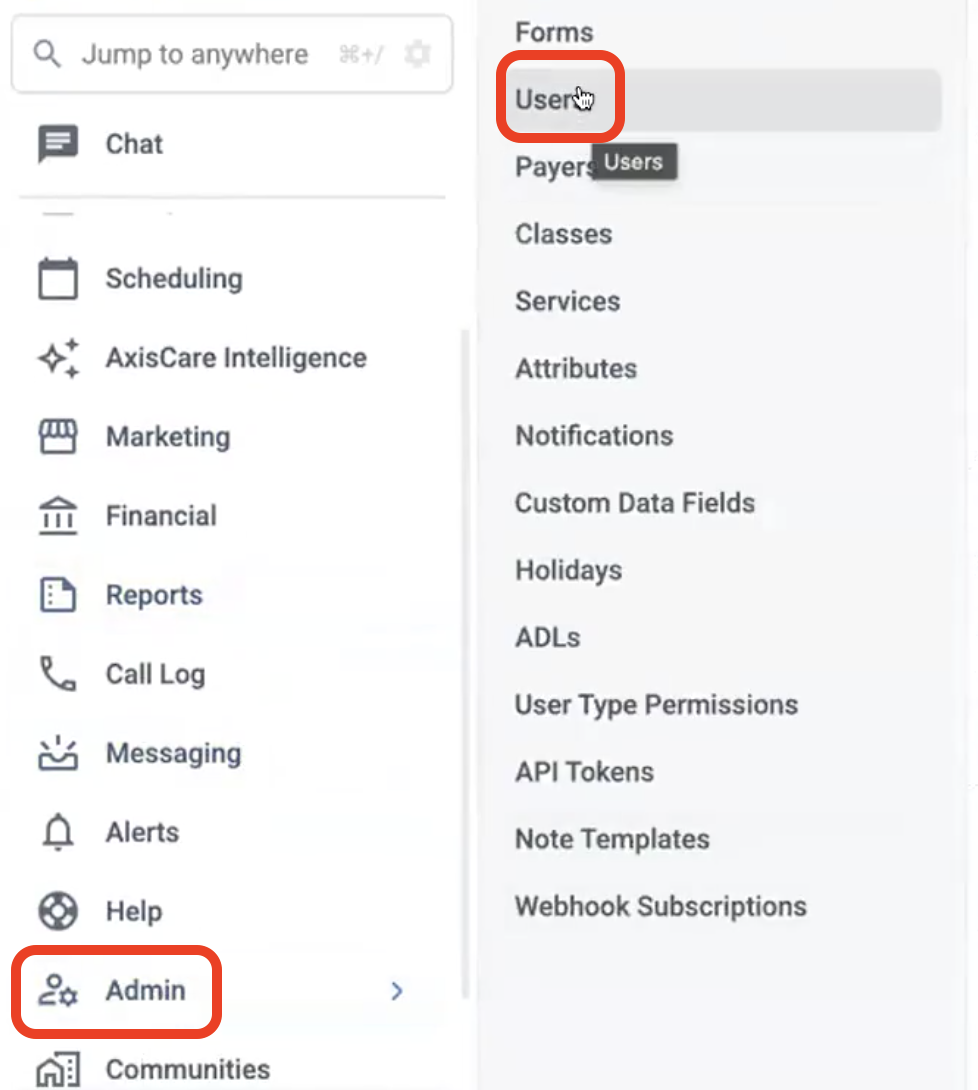
Click Create New User (or Create Admin, depending on your setup)
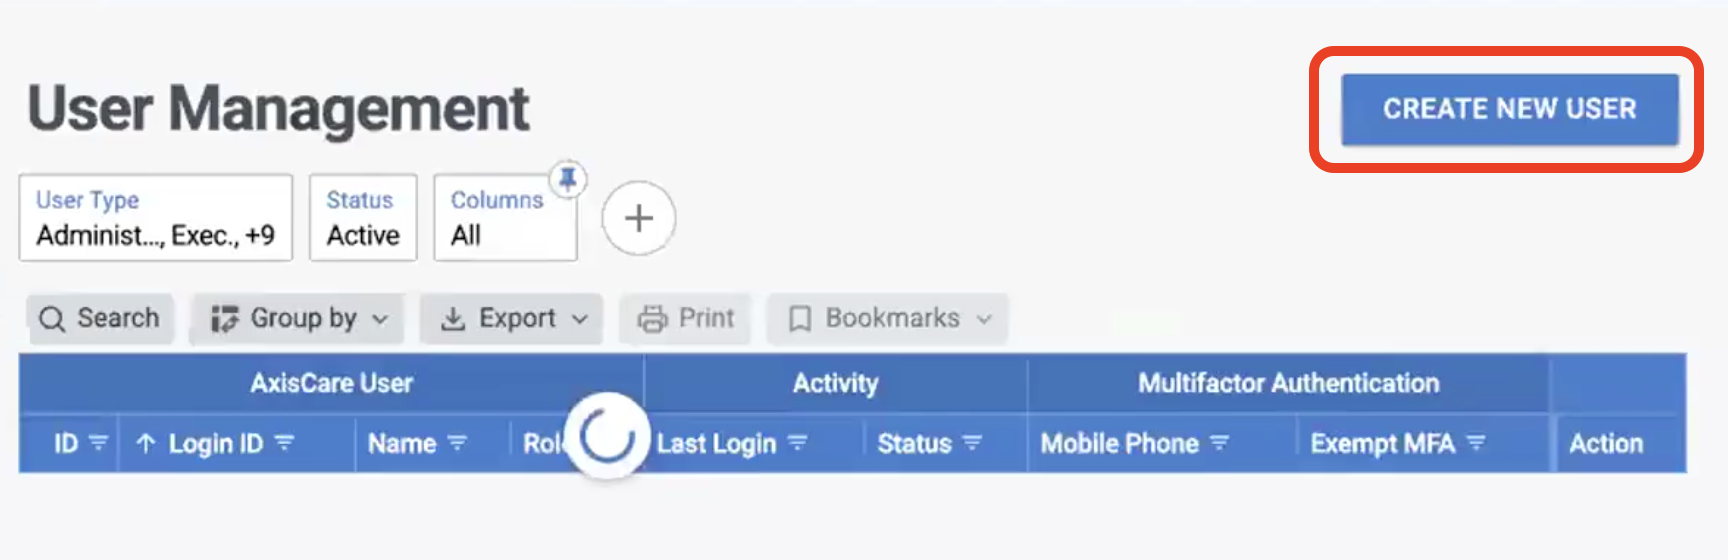
Fill in the new user's details:
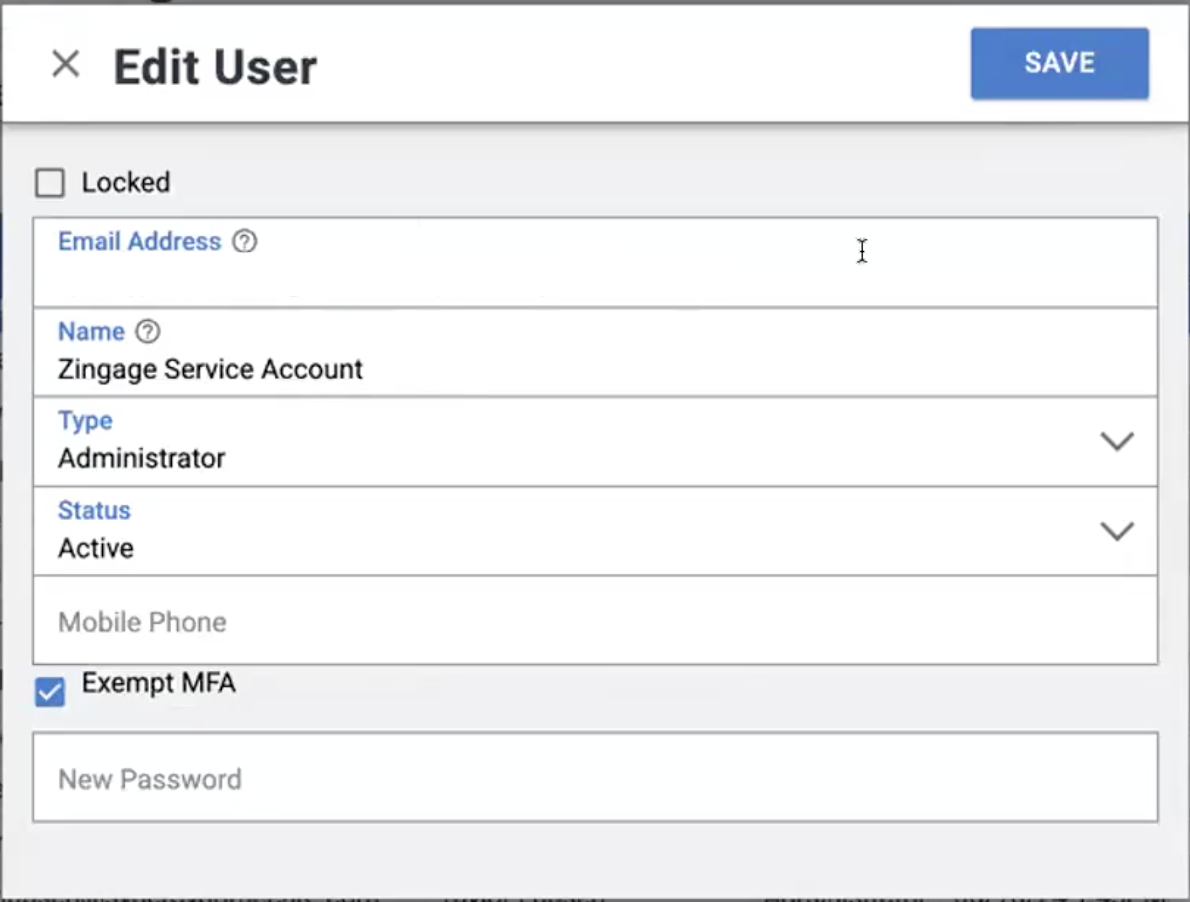
Email: Use the email address provided in your Zingage setup guide
Trouble Finding the Email? Expand this dropdown ↓
Go back to Zingage
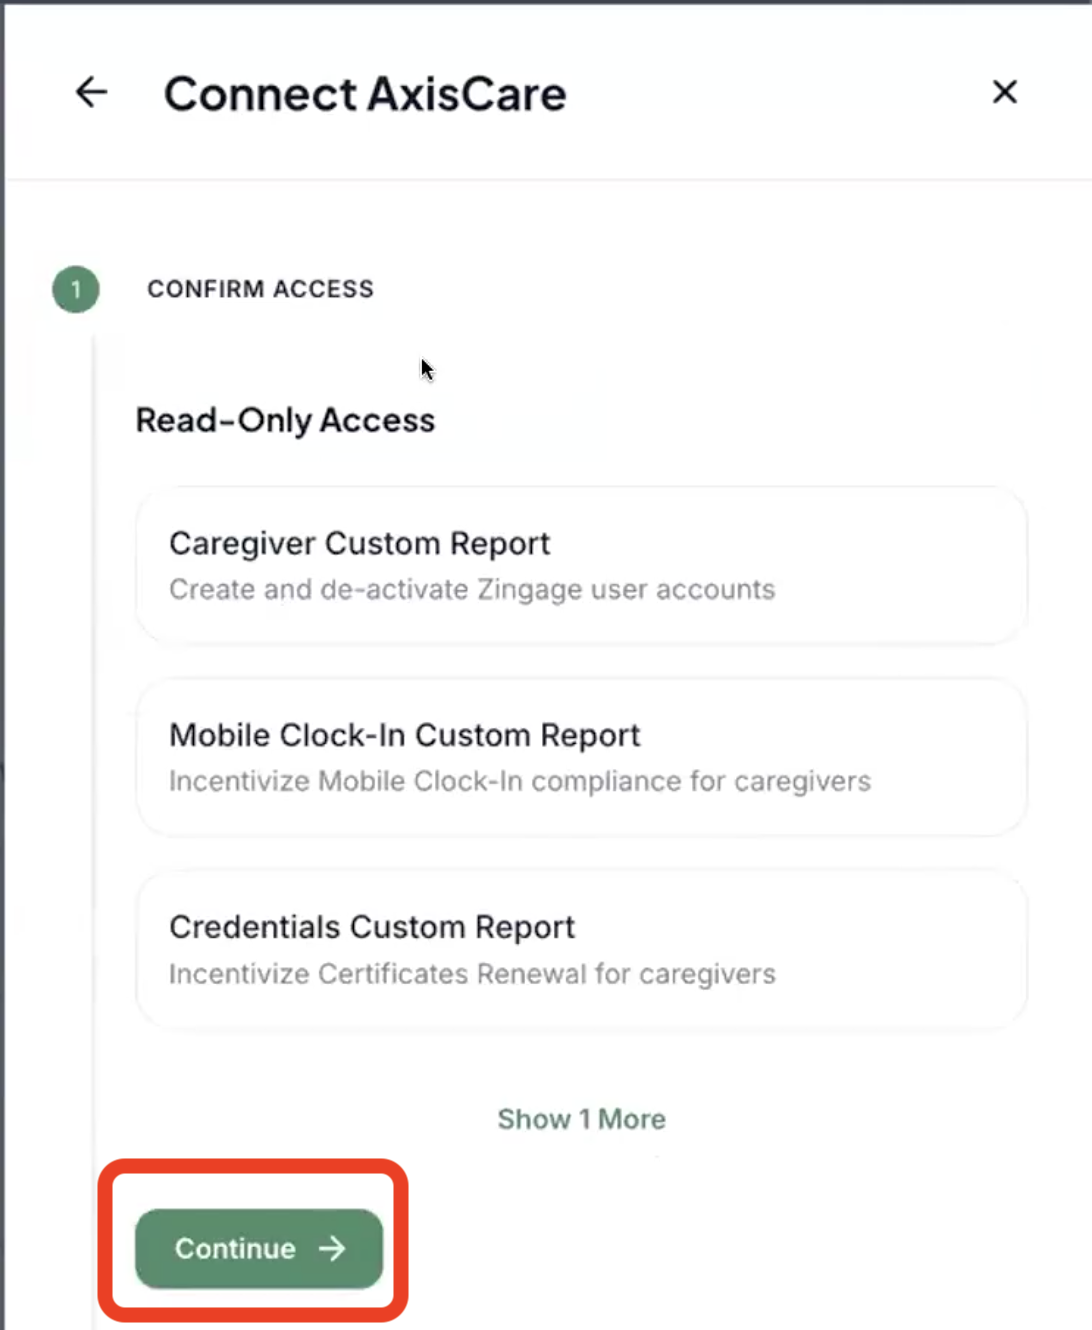
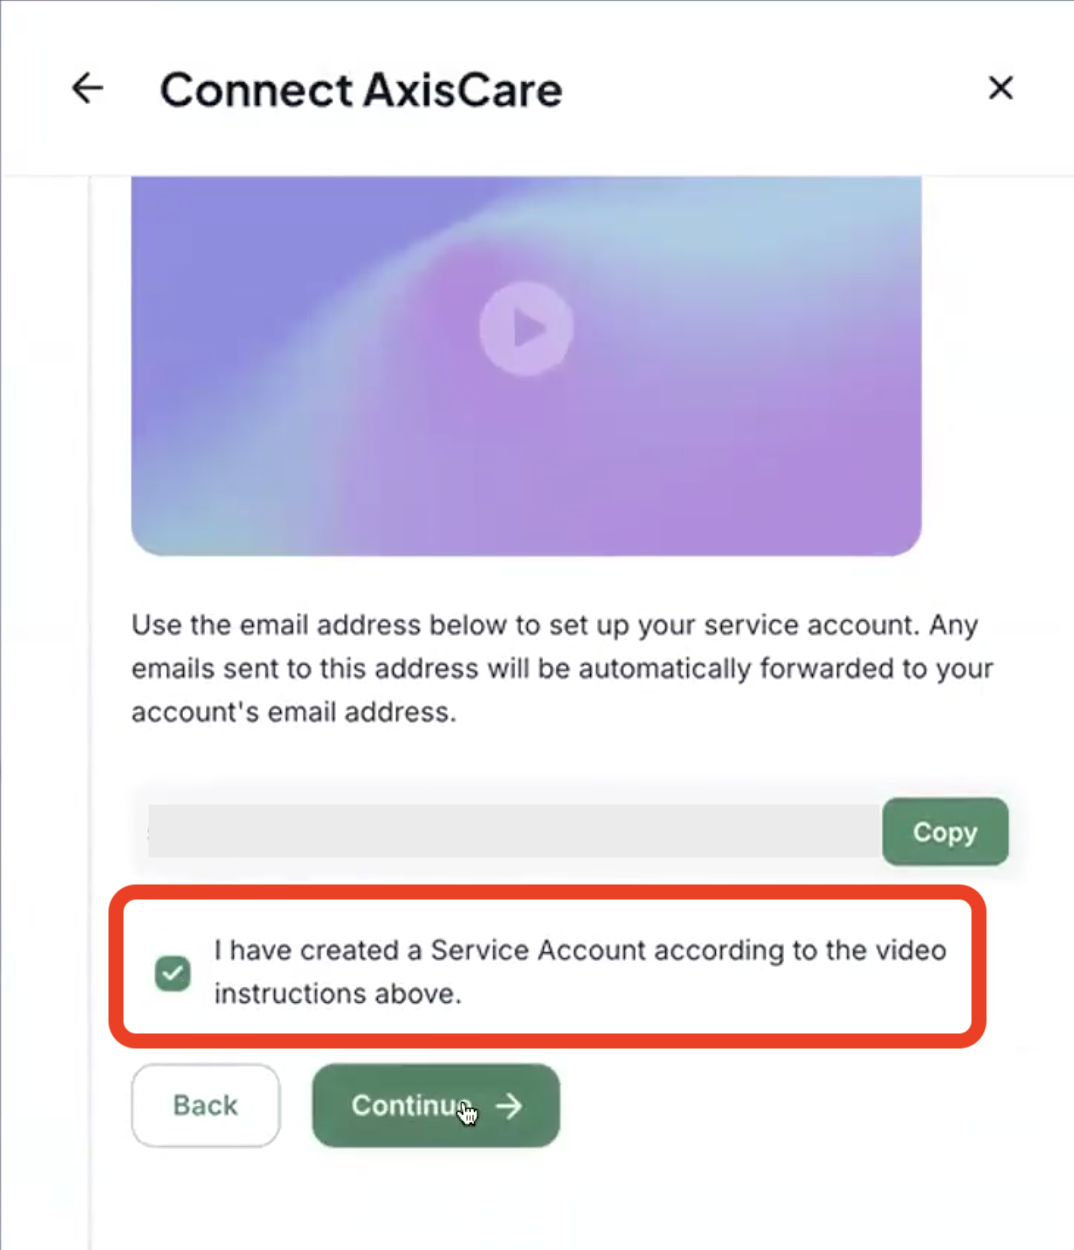
If you're still on the below page, click 'Continue'
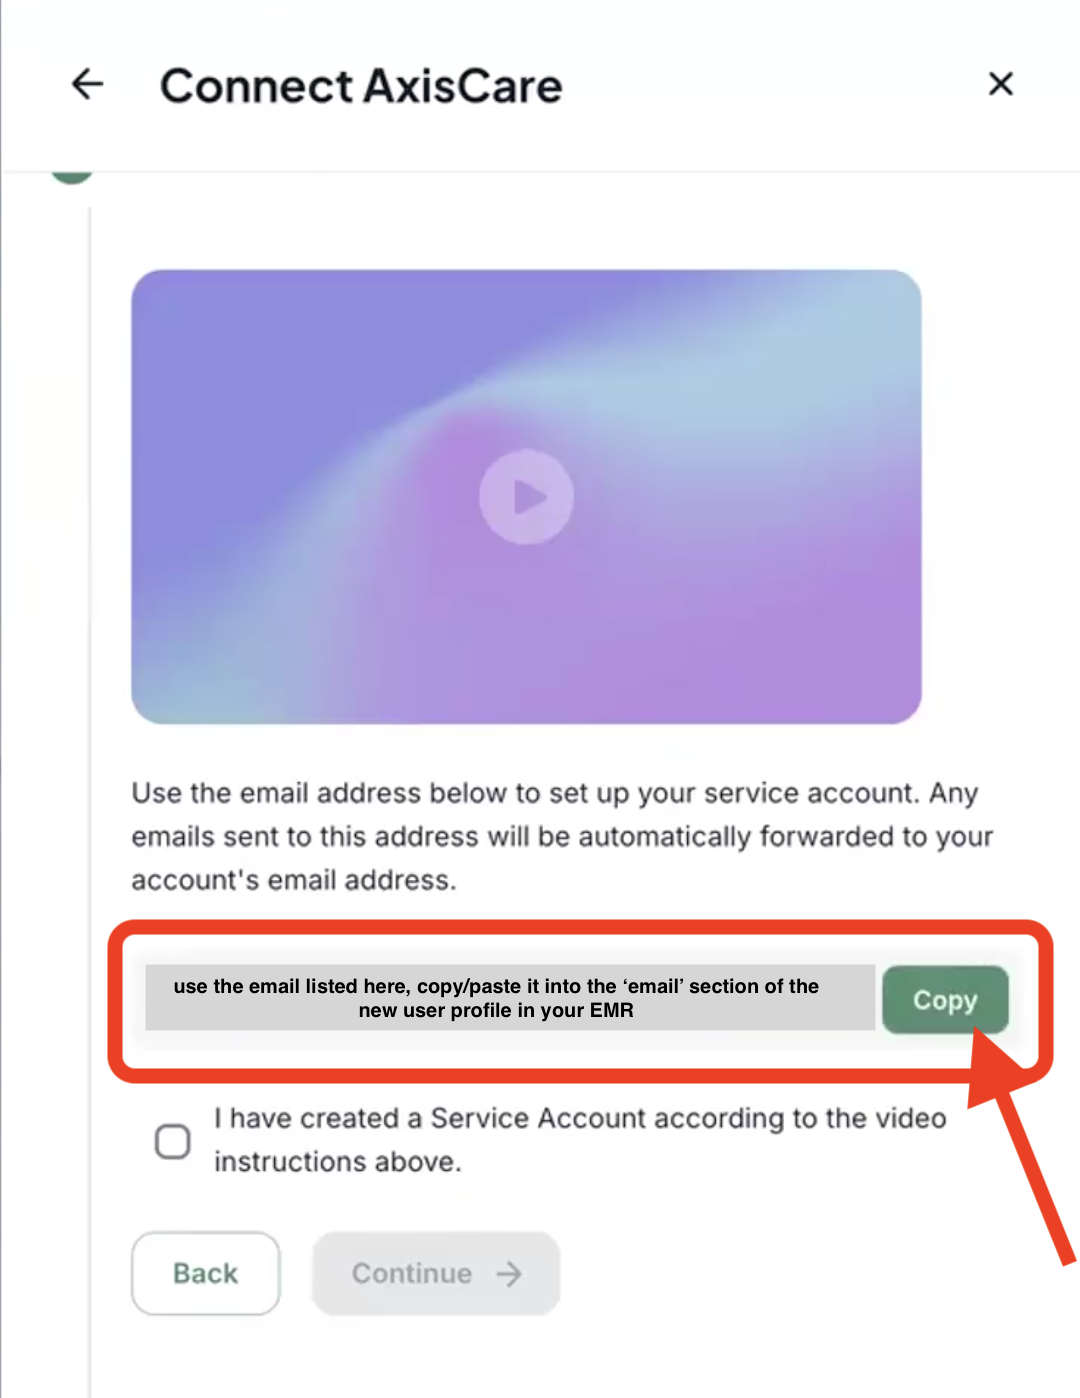
Copy the email in the area shown below
Paste it to your new user details in your EMR
Name: Zingage Service Account
Type: Administrator
Mobile Number: Not Required
Password: This can be a simple password you set yourself (it isn't shared with caregivers or used elsewhere)
Click 'Save' to save the new user account
Note: Depending on your AxisCare setup, you may receive an automated email to activate the new service account. If so, keep an eye out for it.
If you choose Option B: Use Your Own Credentials (Quick Setup) - please follow the steps below
Click "Use My Own Credentials"
Click "Continue"
Enter your login information:
Username/Email: Your existing EMR login
Password: Your existing EMR password
Login Portal Link: The subdomain you use to log into your EMR
Don't worry - everything is encrypted and secure
Click "Mark Done"
Step 3 (if you chose Option A): Back in Zingage
Check the box to "Confirm you created a Service Account"
Enter the service account details of the new account you just created in your EMR
Email: The service account email you just added
Password: The password you created during account setup (from the steps above)
Login Portal Link: Your EMR's login subdomain/URL
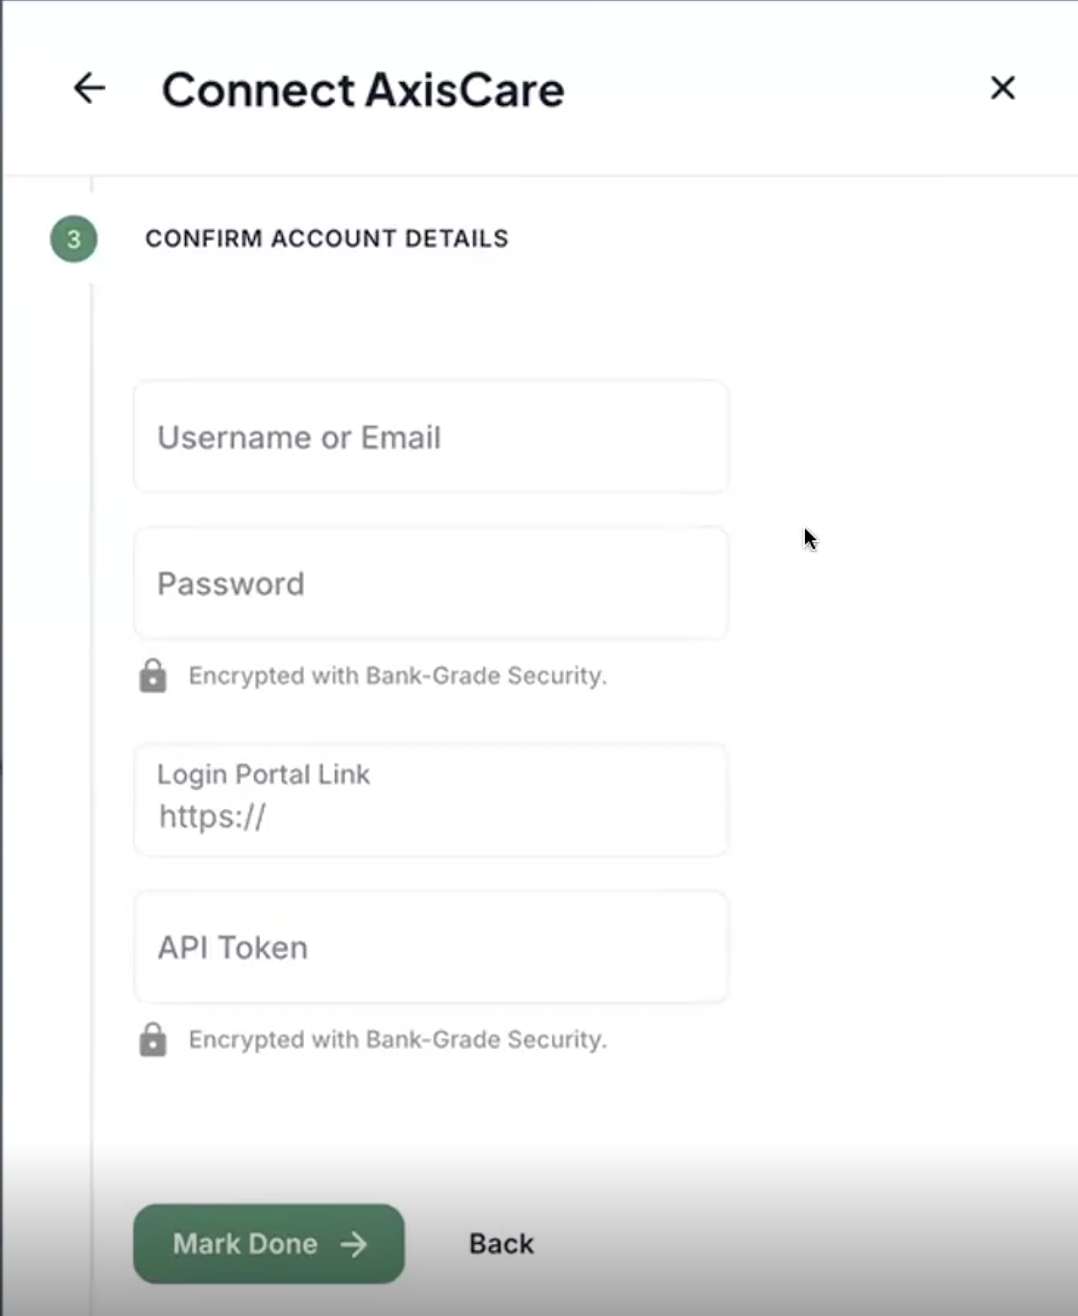
API Key: For AxisCare (and likely AlayaCare) users, you'll need to create an API Key to allow Zingage secure access to your EMR.
You can generate the API Key by following these steps ↓
Go back to your EMR system
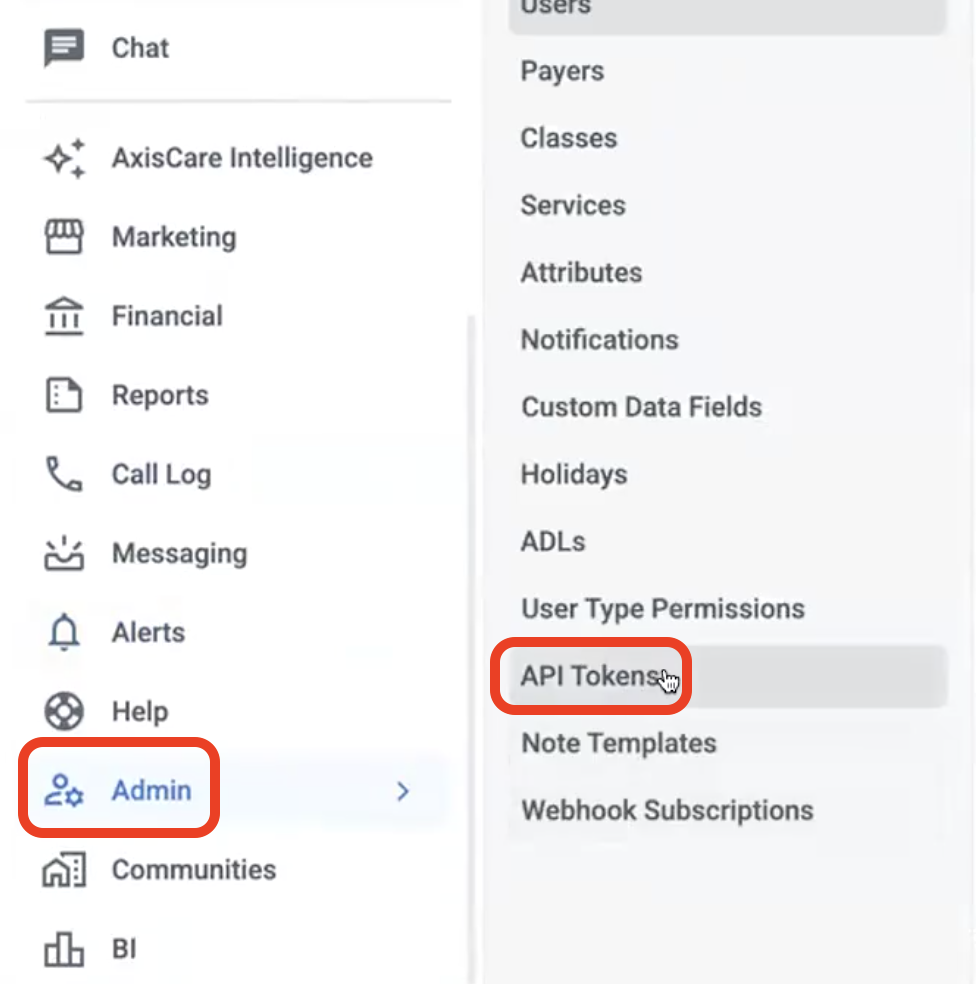
Click Admin
Click API Tokens
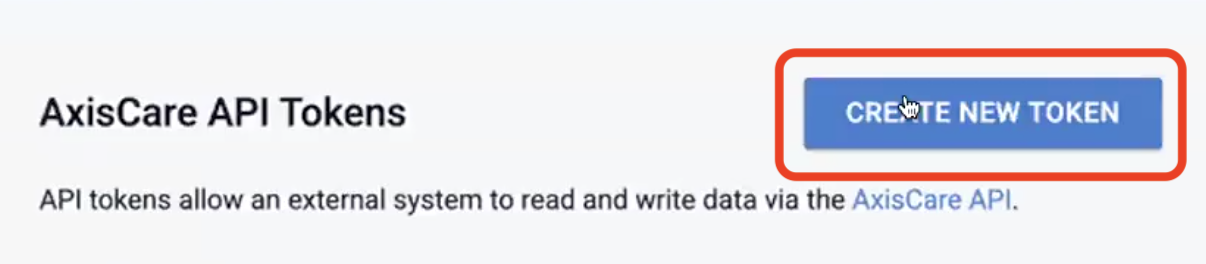
Click Create New Token
Set the expiration date as far out as possible (e.g. Dec 31, 2035)
Set data permissions as prompted, give the account Read Access for all listed items
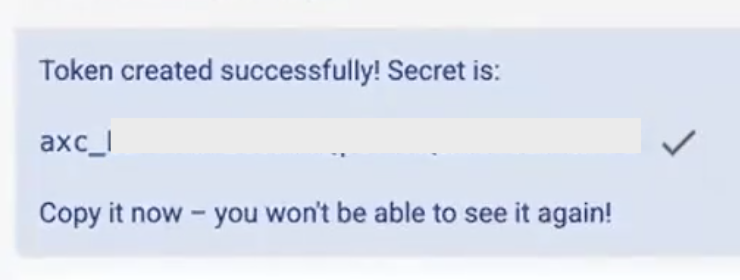
Create the token, copy it right away, and paste it into Zingage (the token will look something like this: axc_7f3kL92mQx8zP4tR)
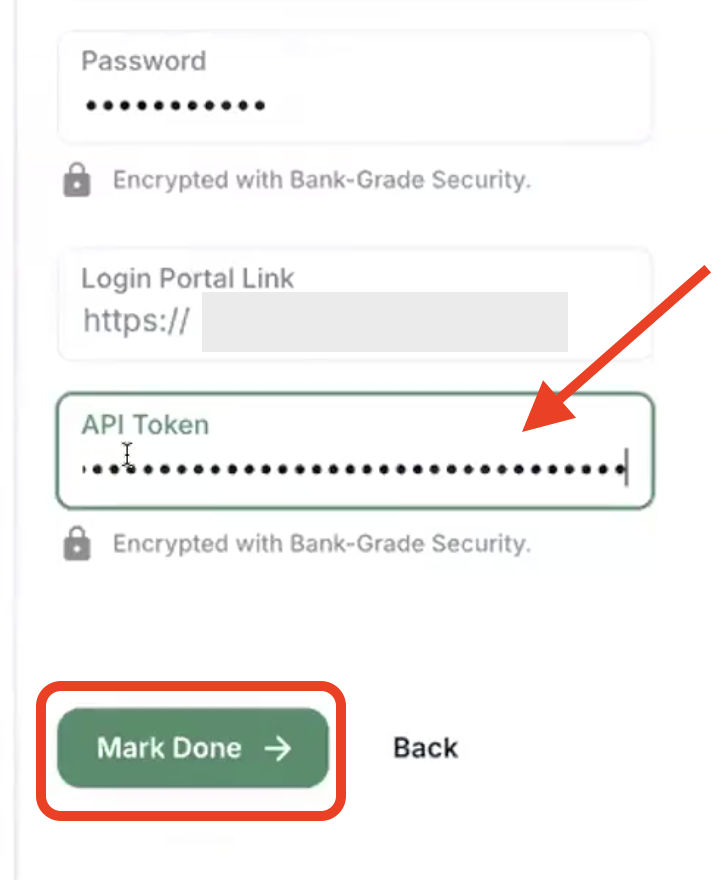
After pasting the API Token into Zingage, click "Mark Done" at the bottom
From there, you should be prompted with a page letting you know you may get an email when the integration is complete where you can click 'Got it!' and then you will be brought to the below confirmation page.
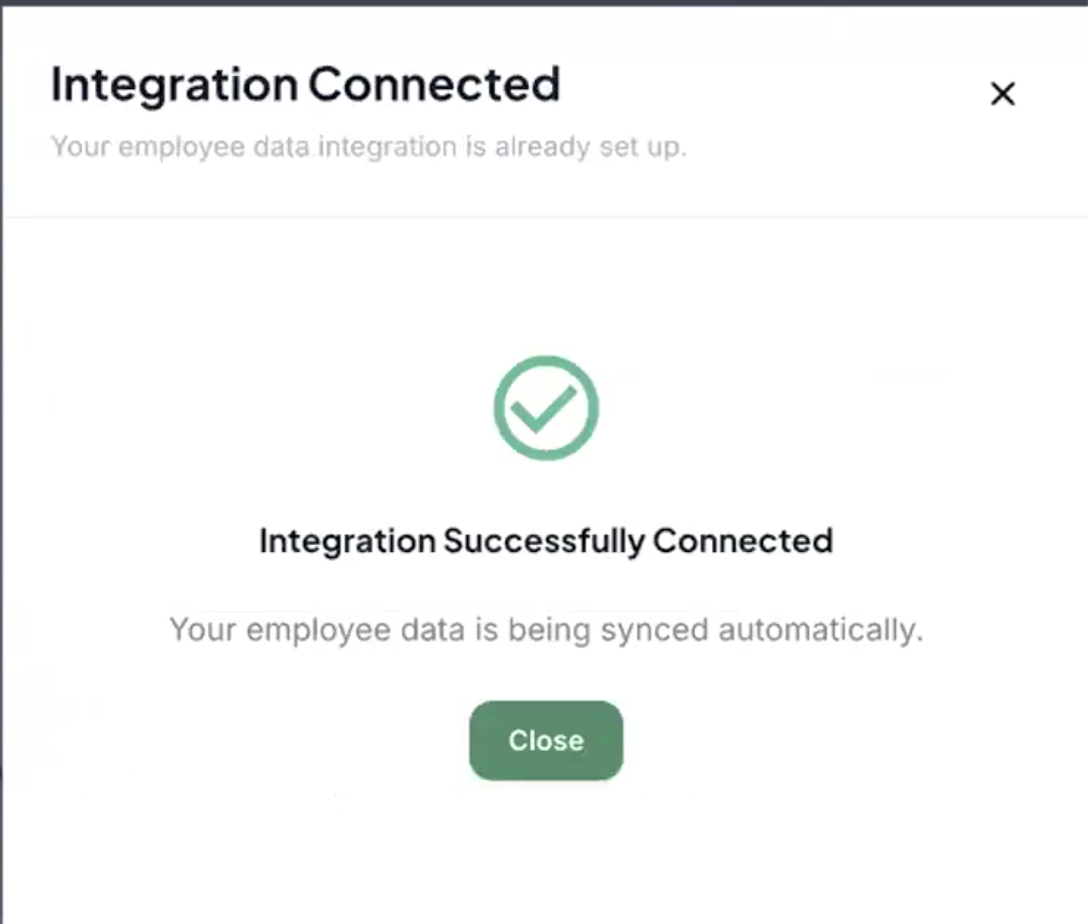
You're Done! 🚀
What Happens Next
Over the next few hours, Zingage will begin pulling data from your EMR
All your caregiver data will automatically sync into the system
You'll see your employees appear under "Company > Employees" in the "Not Invited Yet" section
This sync happens automatically going forward - new hires will appear in Zingage within 24 hours
Why This Step Matters
This integration is what makes Zingage powerful - it automatically tracks caregiver behaviors like:
Visit attendance
Clock-in/clock-out times
Mobile vs. manual clock-ins
Work anniversaries and milestones
Once this step is complete, you're ready to move on to connecting your team and setting up your rewards wallet.
Need Help?
If you encounter any issues during this setup, contact us by filling this form or emailing us at kathy@zingage.com and we'll help you get connected.