Schedule Automatic Caregiver Invitations for Launch
Last updated: July 28, 2026
Auto-invites automatically send Zingage onboarding invitations to eligible caregivers and continue inviting new hires after launch.
🎥Walkthrough: Scheduling Auto Invites For Launch
Related Articles and Resources:
Before launching
Complete Basic Setup.
Connect and fund the wallet.
Invite the administrative team.
Configure the Goal Center and required workflows.
Create the invitation
Open Schedule Auto Invites from the Getting Started checklist.
Use the default invitation message or enter a custom welcome message.
Choose how many completed visits a caregiver must have before receiving the invitation.
Select Next.
Put the workflow on autopilot
Select Put on Autopilot.
Choose the employee group, typically All Employees.
Set the workflow to check for eligible employees every one day.
Choose the start date, time, and time zone.
Select Put on Autopilot to activate the workflow.
How ongoing invitations work
Zingage checks the selected group at the configured cadence.
New caregivers who sync from the EMR and meet the visit requirement receive an invitation automatically.
The invitation is delivered by email and text using the configured message.
Edit or pause the workflow
Edit the welcome message or visit requirement.
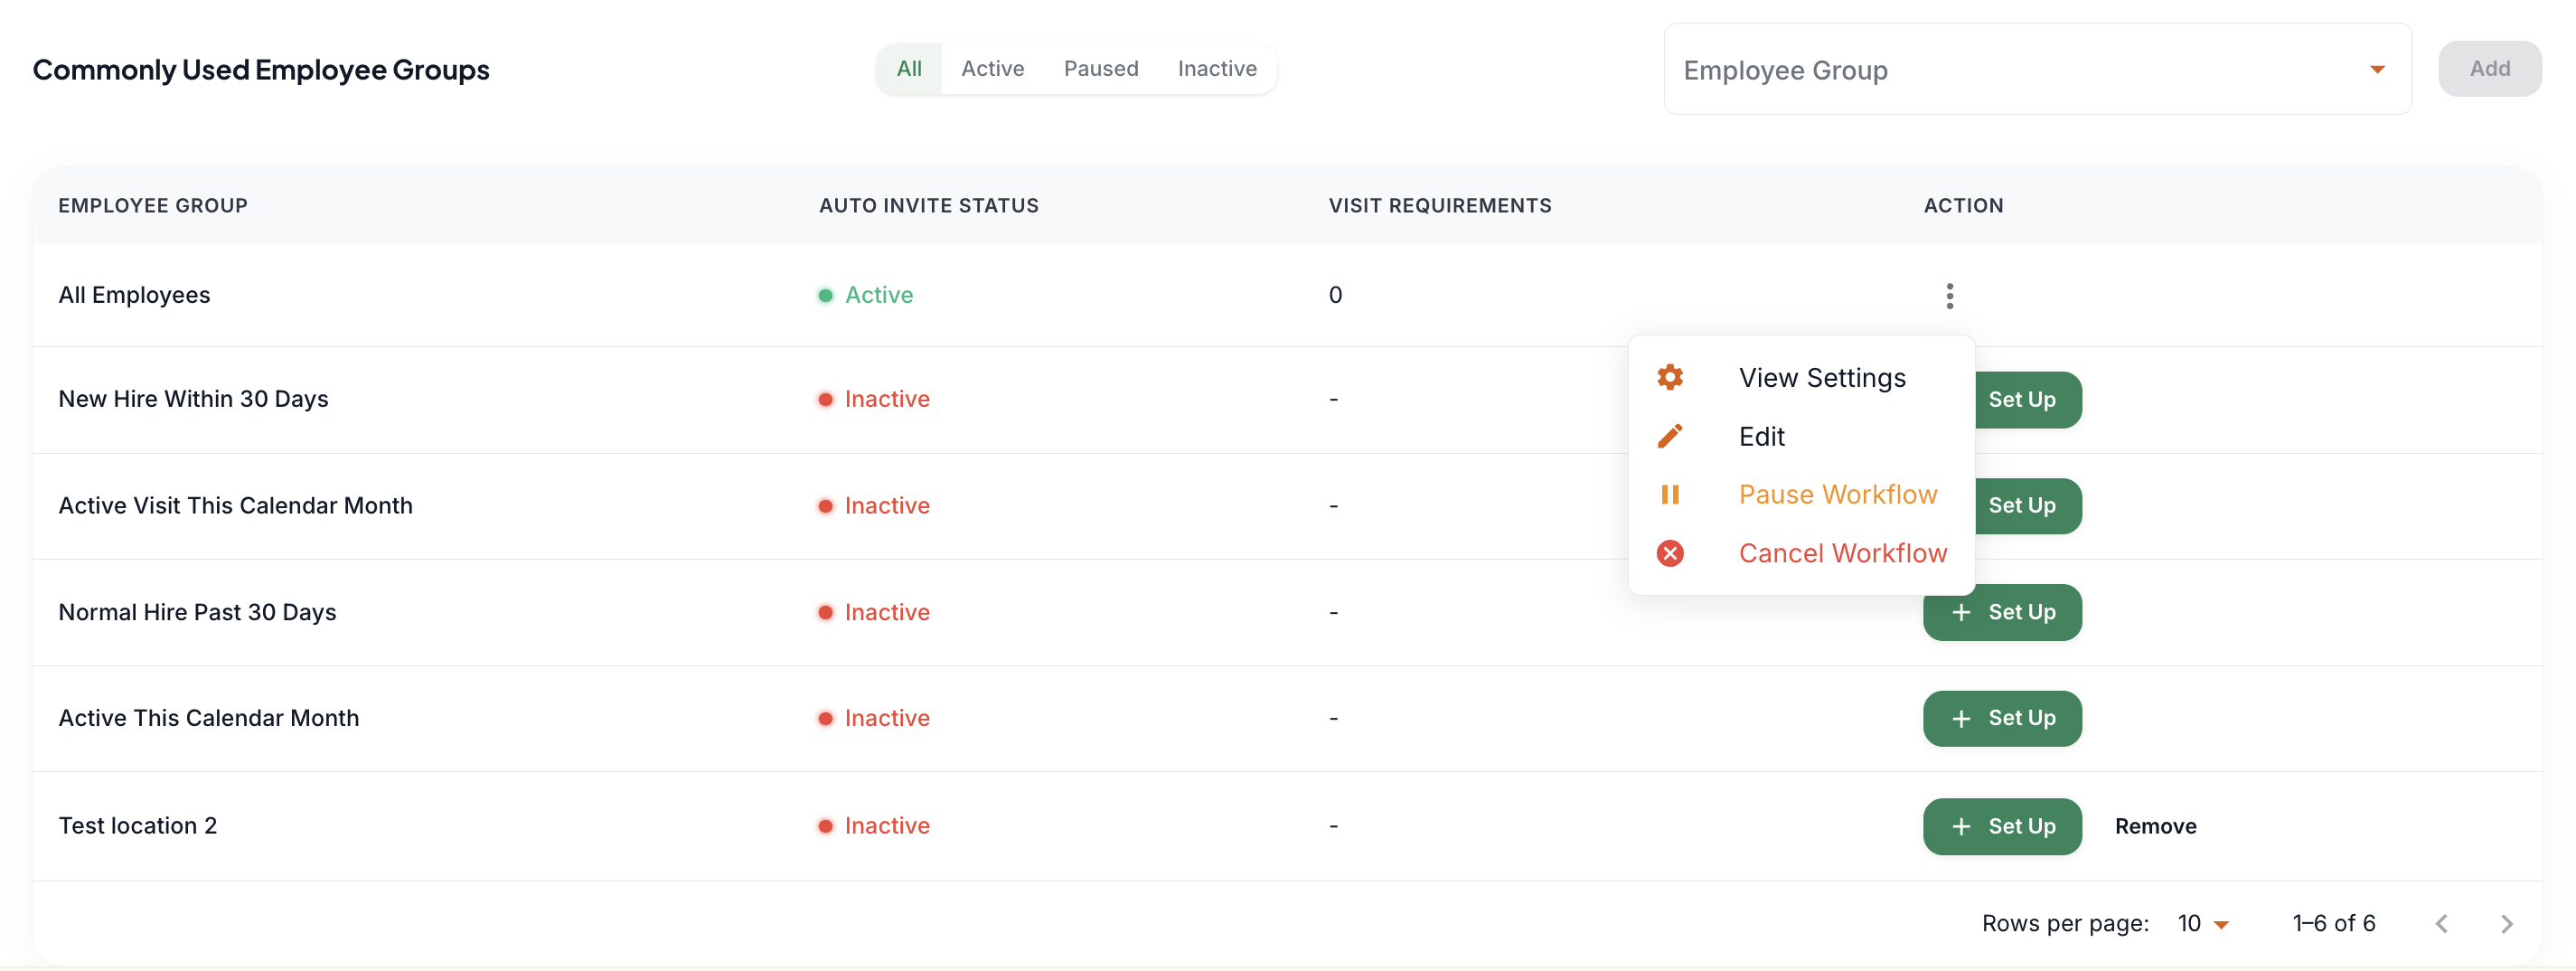
Pause, resume, or cancel the workflow.
The original cadence remains in place unless it is changed.
Understand overlapping groups
An All Employees workflow applies to every caregiver in that group and may override the practical effect of narrower group settings.
Pause the broader workflow when a smaller group needs a different message or visit requirement.
Review all active invite workflows to avoid conflicting rules.
Add invitation restrictions
Use the restriction list for records that remain in the EMR but should not receive Zingage access.
Add the applicable email pattern, name, or profile information, then save the settings.
This video: Updates on Auto-Invite Settings goes in depth on that feature