Create and Schedule Announcements
Last updated: August 7, 2026
Announcements let your agency communicate with caregivers through in-app notifications, email, text, and the company feed.
🎥Walkthrough: Setting Up Announcement Workflows
Related Articles and Resources:
Create an announcement
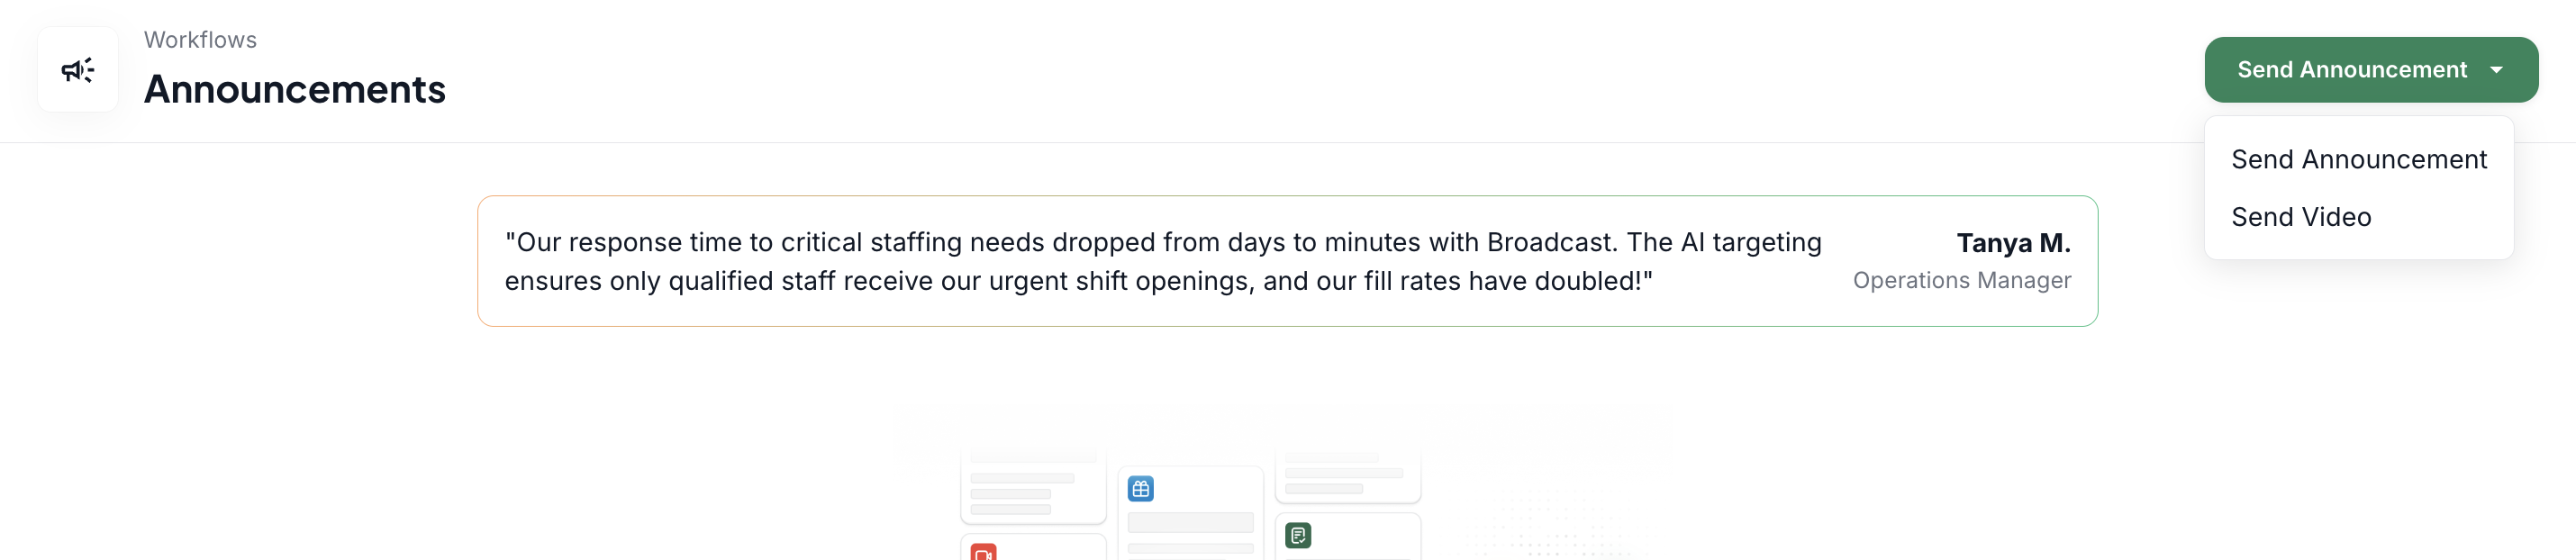
Go to Workflows > Announcement.
Select Send Announcement, then select Send Announcement again.
Enter the message and apply formatting such as bold or italics where needed.
Preview the message before continuing.
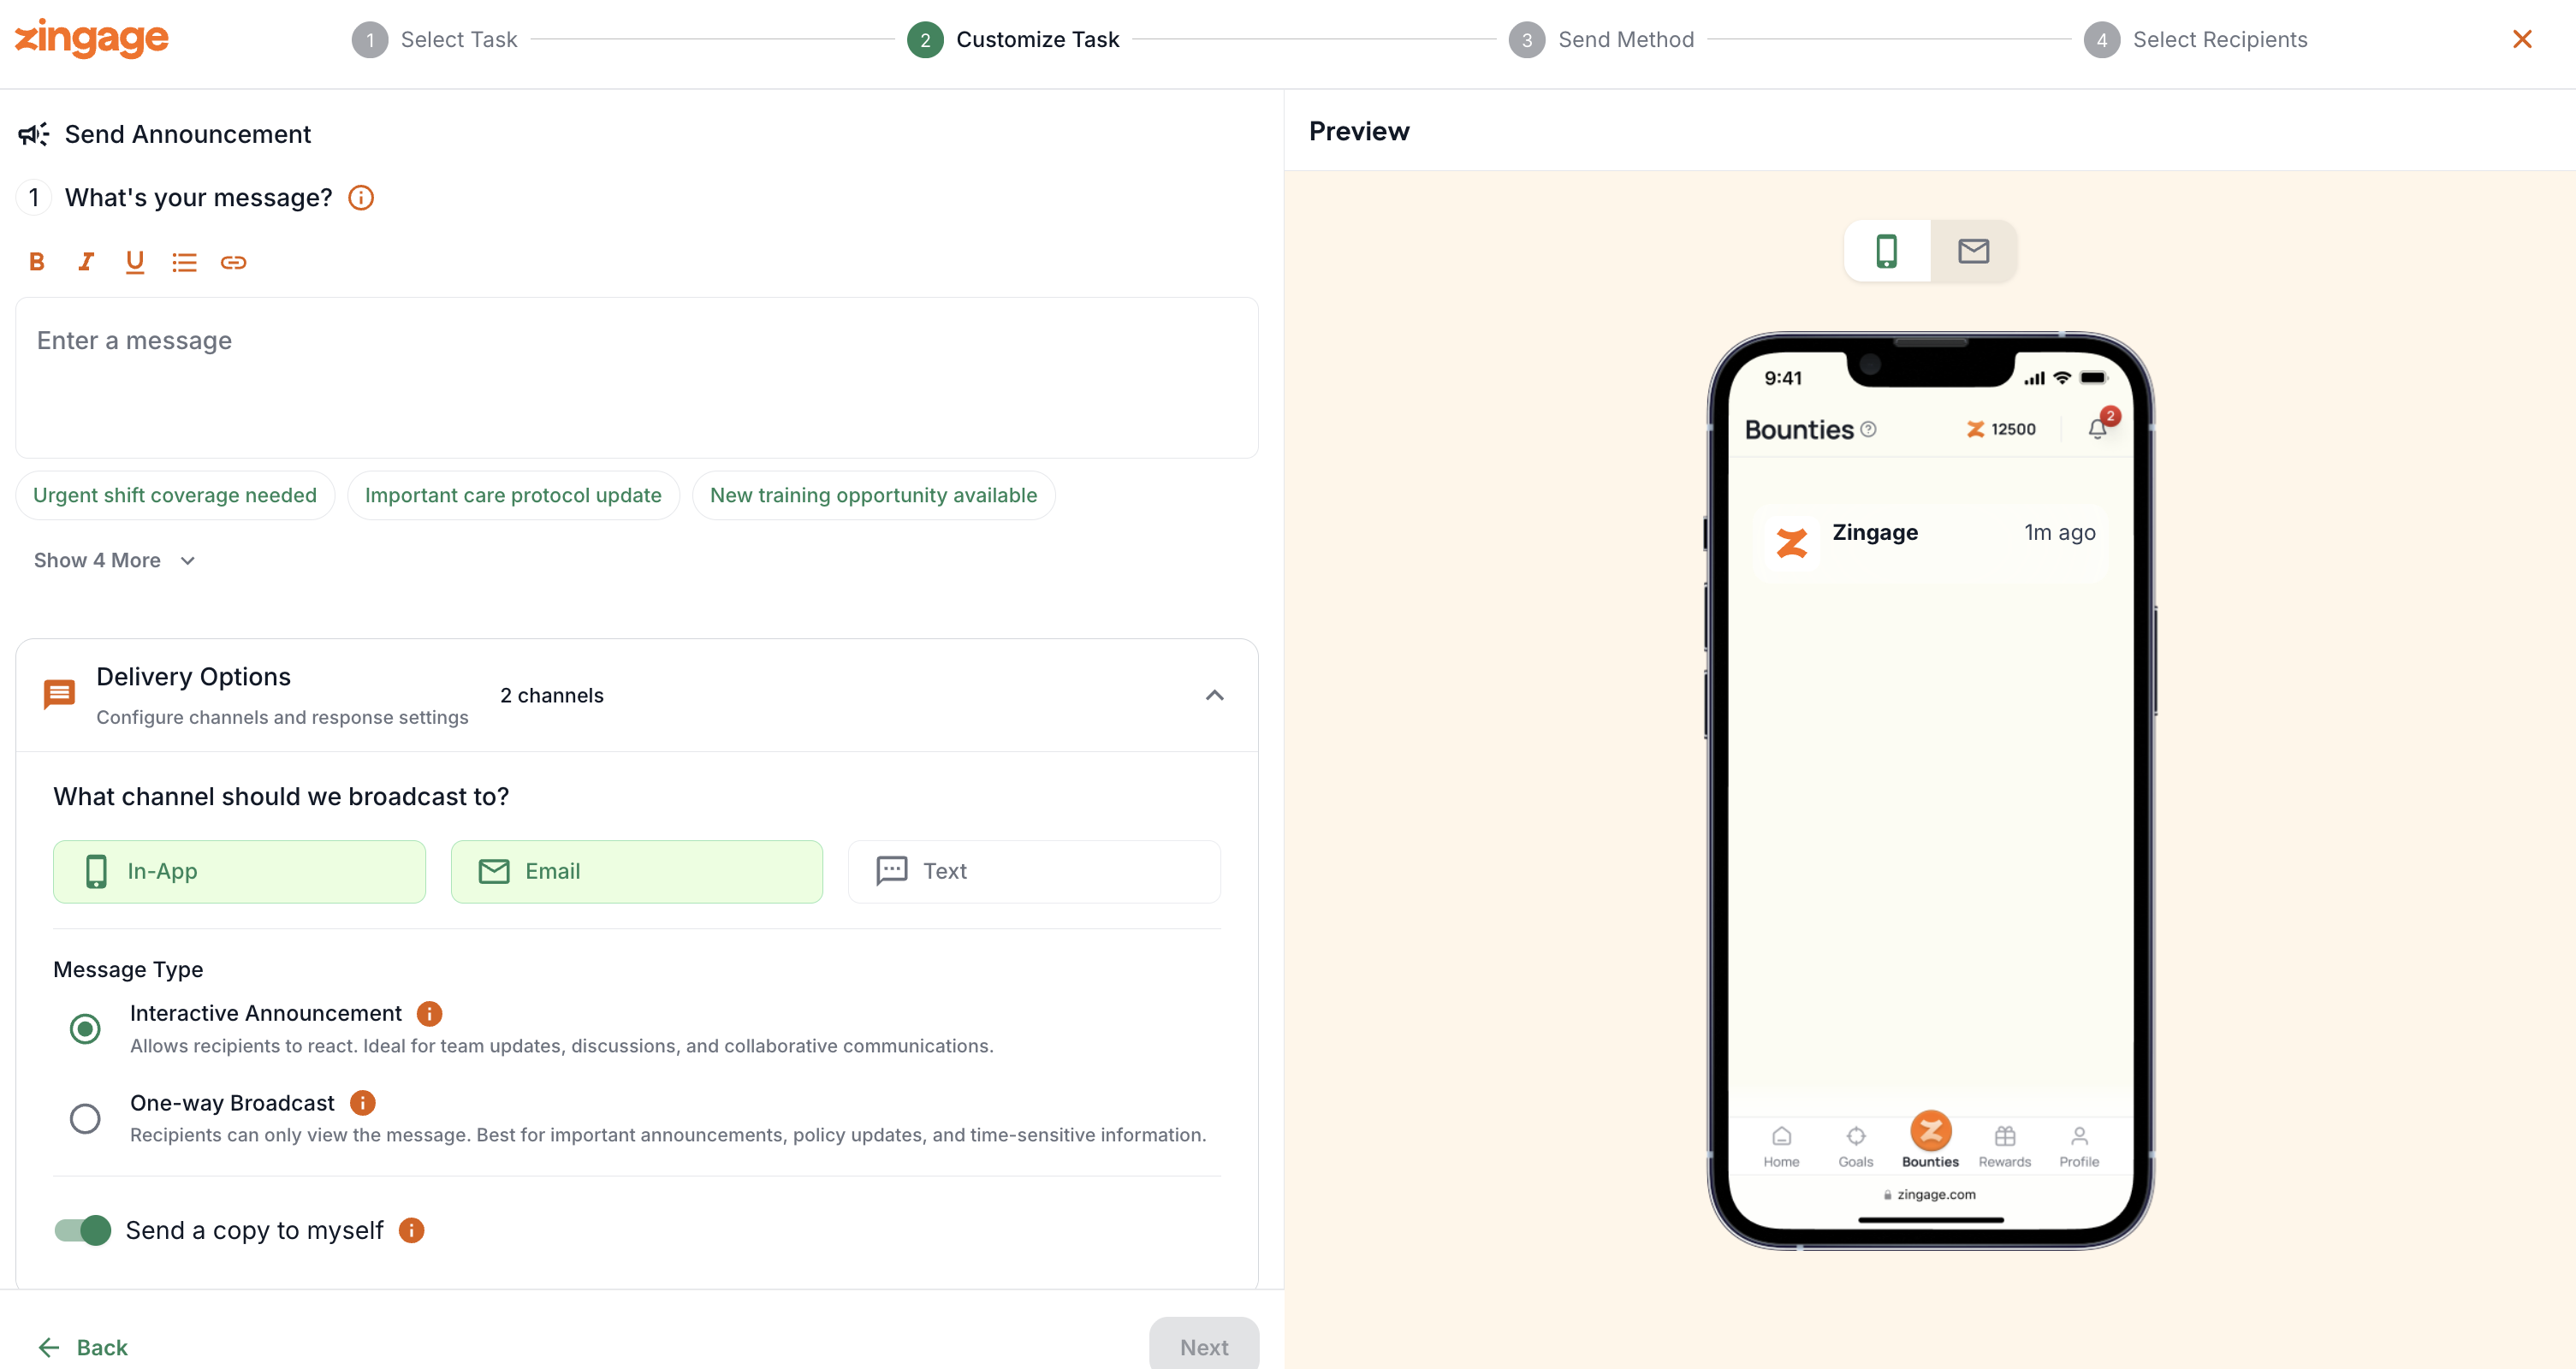
Choose delivery options
In-app and email are selected by default.
Select Text to also send the announcement by SMS.
Choose Interactive to allow emoji reactions, or One-Way Broadcast when no reaction is needed.
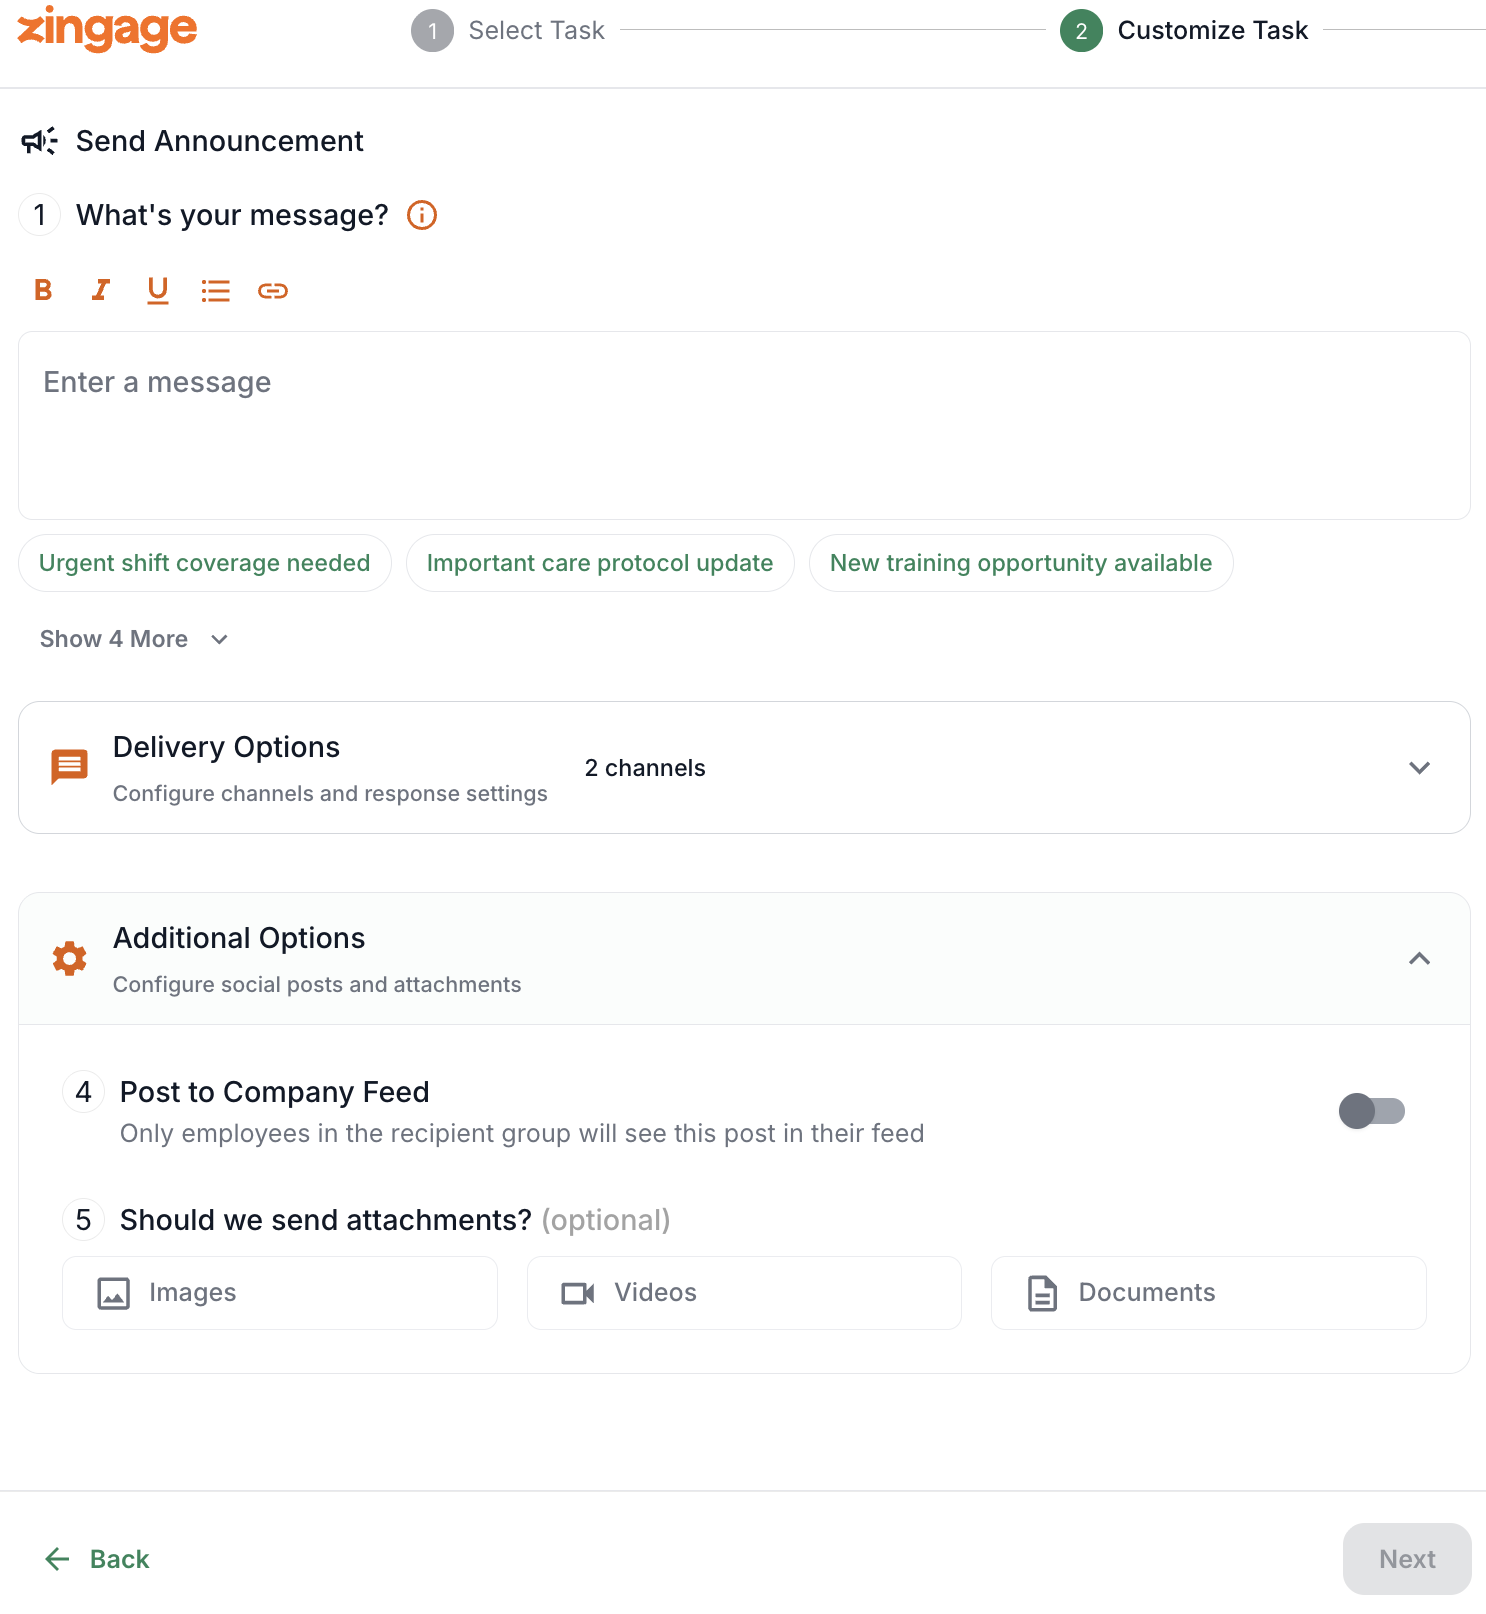
Turn on Post to Company Feed when the message should remain visible in the caregiver feed.
Add an attachment
Upload an image, PDF, or video.
Videos can be uploaded or recorded directly in the workflow.
Attachments are optional.
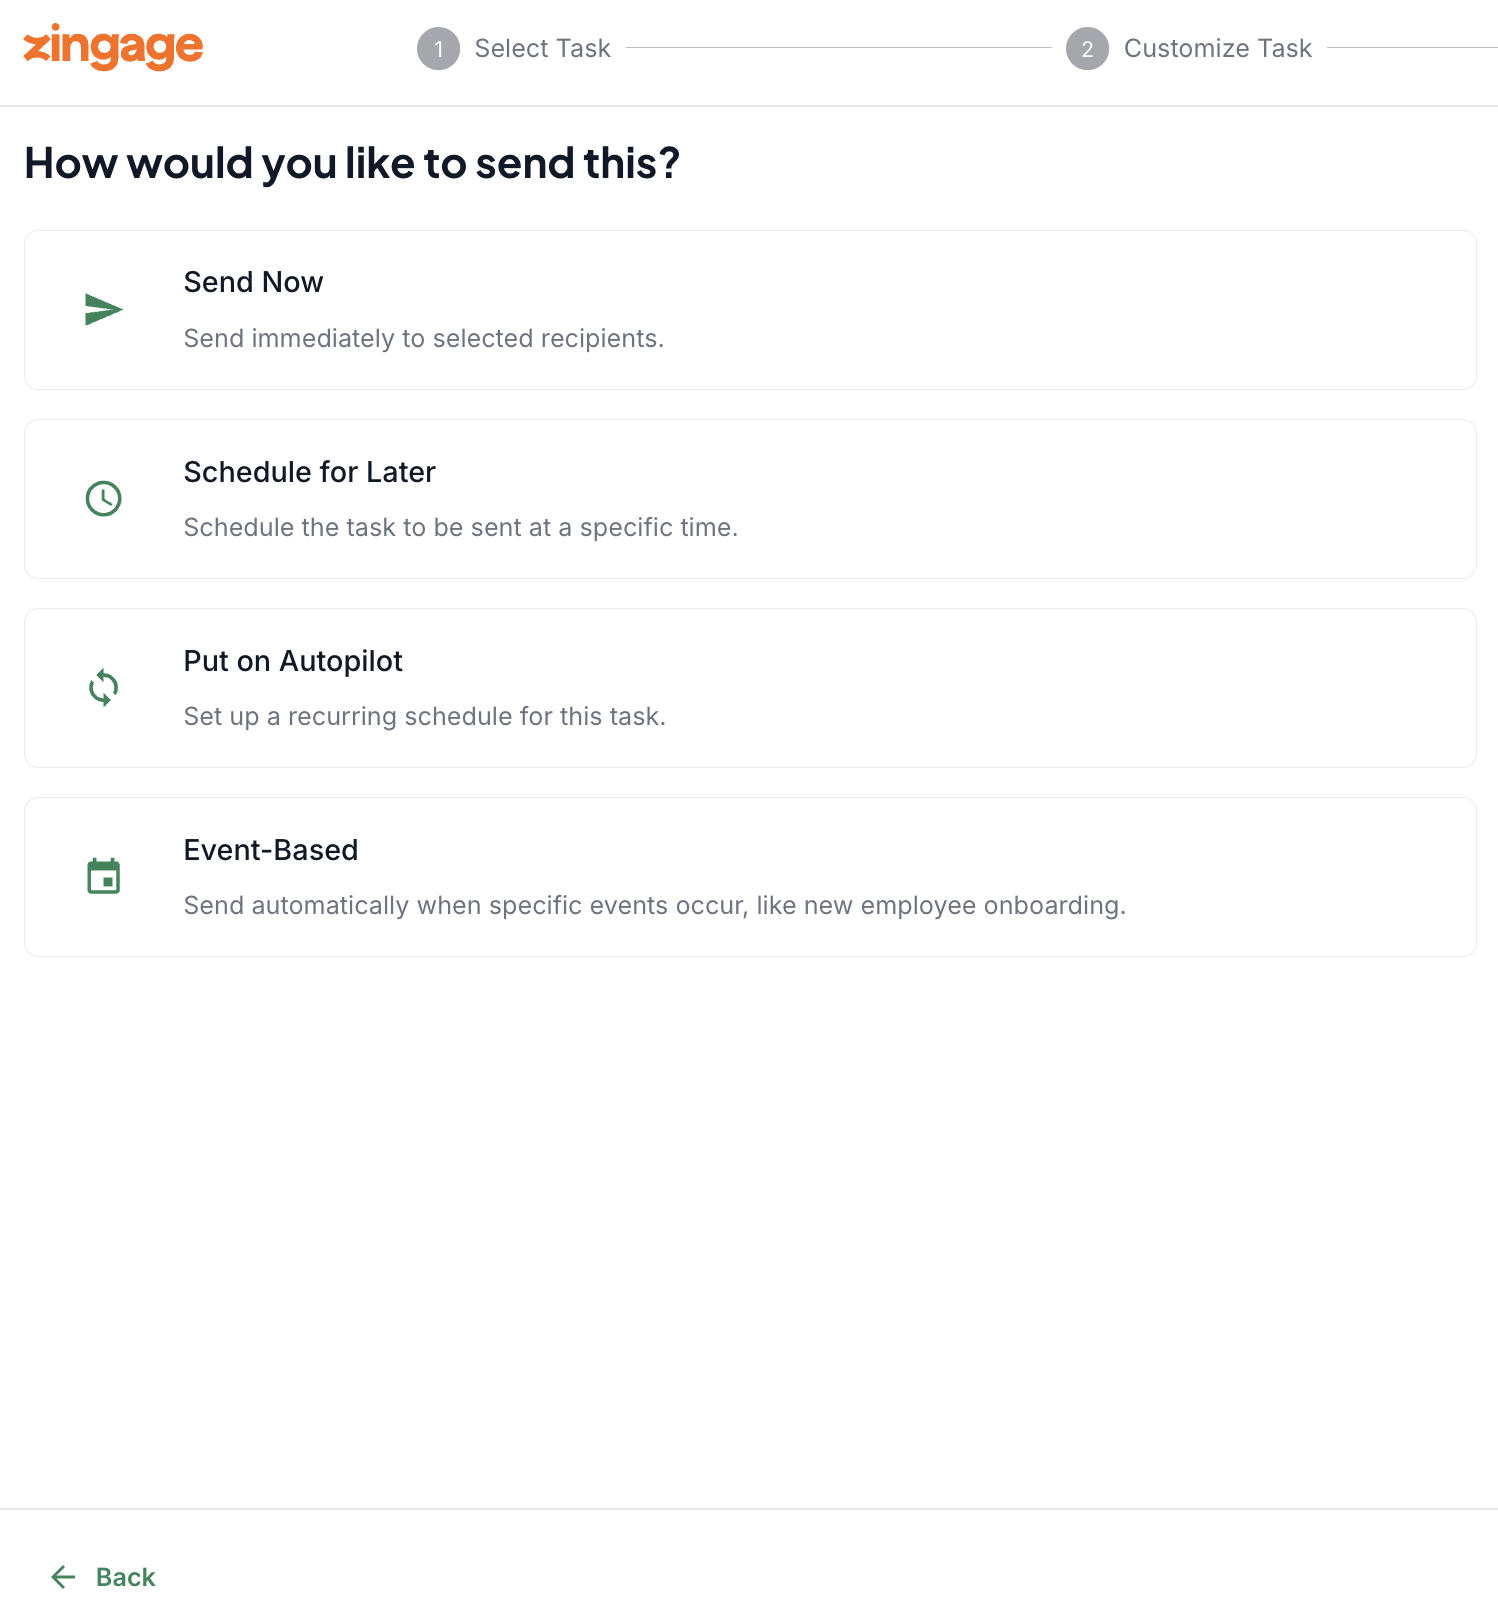
Choose a sending method
Send Now: Deliver the announcement immediately.
Schedule for Later: Choose a future date and time.
Autopilot: Repeat the announcement on a recurring schedule.
Event-Based: Send when a selected employee event occurs, such as a new hire milestone.
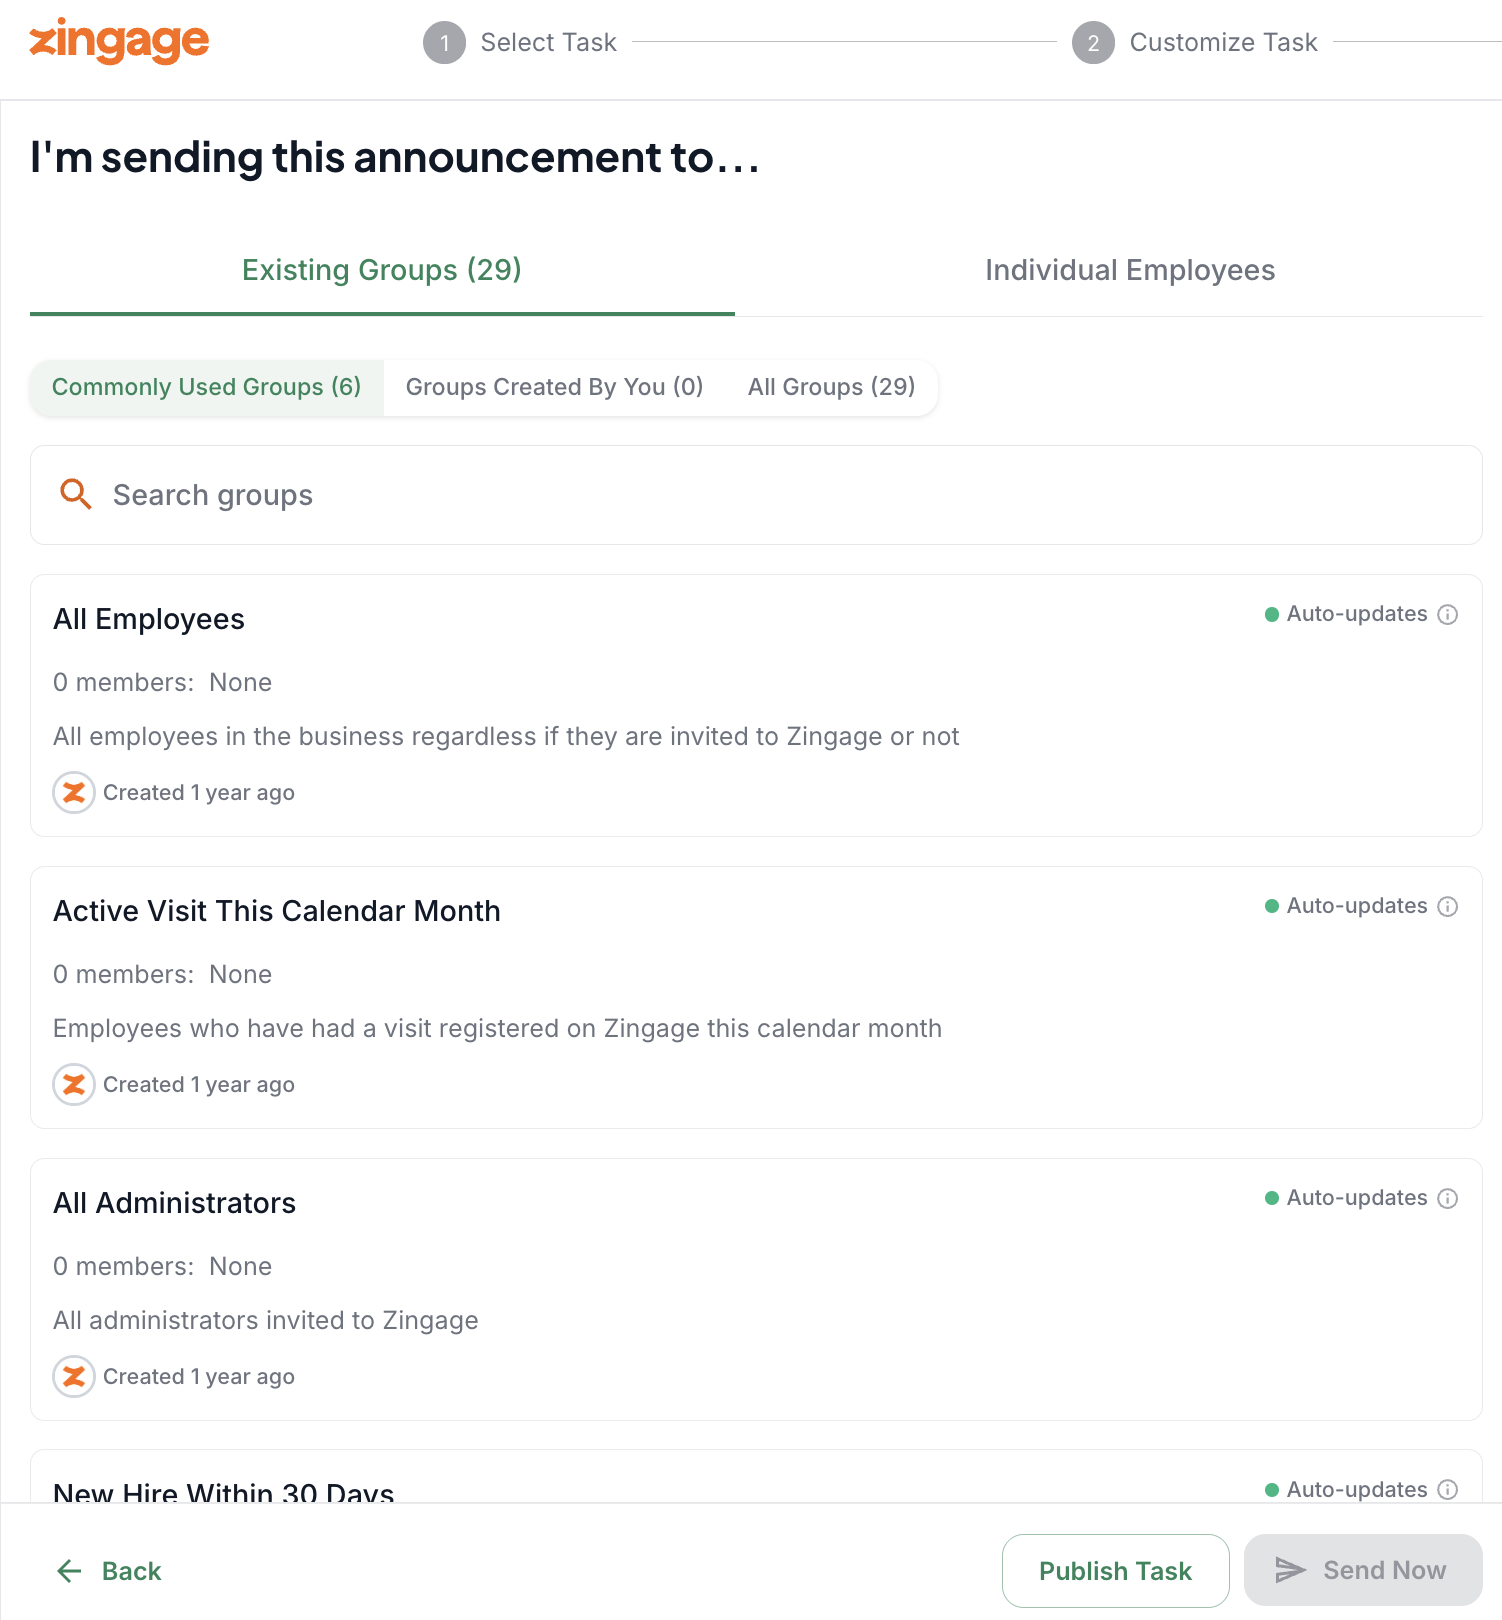
Select recipients
Choose All Employees for an agency-wide message.
Choose a custom employee group for a targeted announcement.
Review the recipients and schedule before activating the workflow.
Please Note: if you are sending an announcement to more than 1 person, the text within the announcement will be the same for each recipient selected. It will not auto-populate their name. As such, you'll want to keep the messages more general so they can apply to each person receiving it.
Manage announcements
Return to the Announcement workflow to review active, scheduled, or completed announcements.
Pause, edit, or cancel an automation when your communication needs change.